We welcome you back for another episode of our Homebrew Happy Hour podcast… the podcast where we answer all of your home brewing questions and discuss anything related to craft beer!
A SUBTLE REMINDER:
If you appreciate the things we do here at Homebrew Happy Hour, consider joining our Trub Club! Not only will you be supporting our efforts, but you’ll also receive exclusive perks such as HUGE discounts on HomebrewSupply.com and Kegconnection.com, welcome packs with our merch, discounts to BrewersFriend.com, and lots more! Click the link and join today — https://www.patreon.com/bePatron?u=21132635
On Today’s Show:
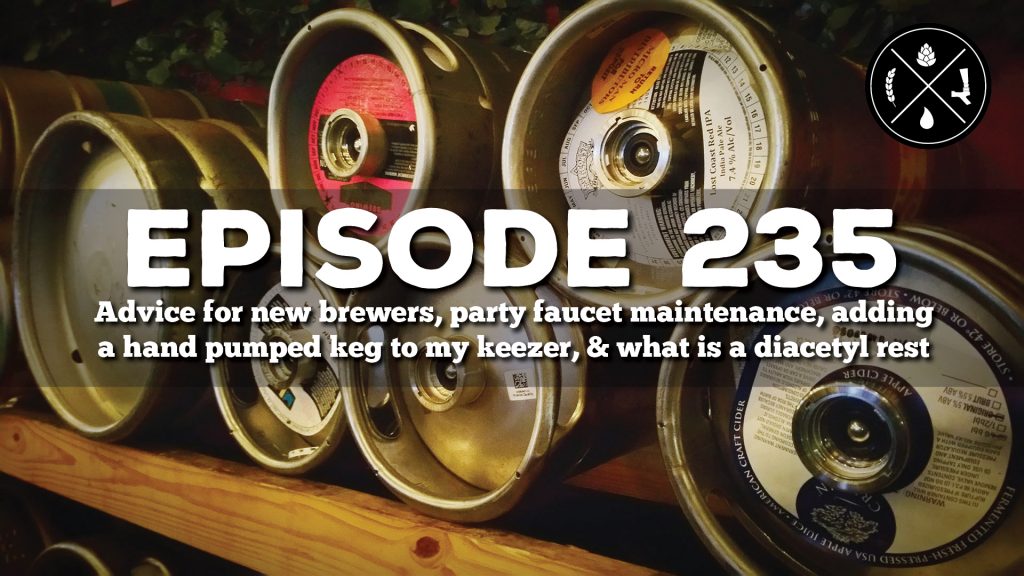
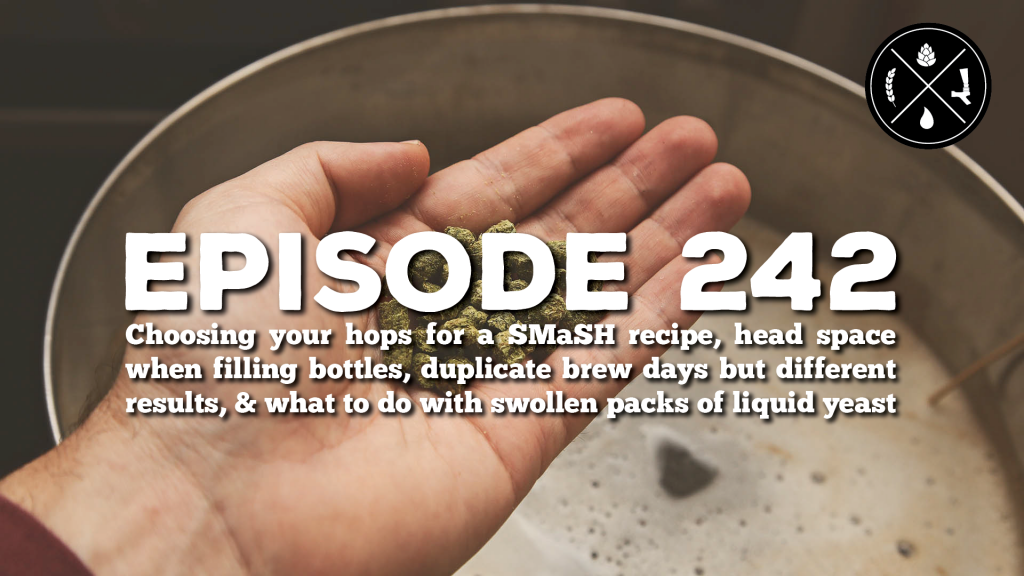
We start off the show with a question about selecting hops when developing a single hop and single mash (SMaSH) recipe. Thankfully, we have hop head Ladik Joe Ermis on the show with us this week and he was a huge help on this question. Shop fresh hops for your next batch here: https://www.kegconnection.com/hops/
Then, we had a question about filling bottles (gross, amirite?) and whether or not you should leave plenty of head space or if you can fill the bottle all the way up to the top. For bottling supplies, click here: https://www.kegconnection.com/bottle-filler/
Our third question was an interesting one because the listener initially brewed a batch of the award winning Brian’s Kolsch recipe kit – enjoyed it so much – then he bought a second recipe kit and brewed it the exact same way only to have slightly different results. His second batch was sweeter than his first and we try to help him figure out ‘why’. Brew the incredible Brian’s Kolsch recipe kit yourself: https://www.kegconnection.com/brians-kolsch-kolsch-cup-2021-grand-champion-recipe/
Finally, our fourth and final question on this week’s episode came from a listener who is a member of our Trub Club (https://www.patreon.com/HomebrewHappyHour) and receives recipe kits every month. During these Summer months, his pack of Imperial Yeast arrived slightly swollen and he isn’t sure whether he should pitch it as is or if he should create a starter for his batch. Shop Imperial Yeast here: https://www.kegconnection.com/imperial-yeast/
We want to hear from you!
If you have a question that you’d like us to discuss on a future episode, please click on the “Submit a Question” link at the top of our website or you can now call in your questions via our questions hotline @ 325-305-6107 and leave your message after the beep. This is a friendly reminder that, if we choose your question for a future episode, we give you a $25 gift card to that episode’s sponsor!
Thank you for joining us and yet another fun-filled episode of our Homebrew Happy Hour podcast… the podcast where we answer all of your home brewing questions and discuss anything related to craft beer!
A SUBTLE REMINDER:
If you appreciate the things we do here at Homebrew Happy Hour, consider joining our Trub Club! Not only will you be supporting our efforts, but you’ll also receive exclusive perks such as HUGE discounts on HomebrewSupply.com and Kegconnection.com, welcome packs with our merch, discounts to BrewersFriend.com, and lots more! Click the link and join today — https://www.patreon.com/bePatron?u=21132635
On Today’s Show:
Even though James is at the beach, he still made it a point to drop in and check on us to make sure we could do this week’s episode. What a guy!
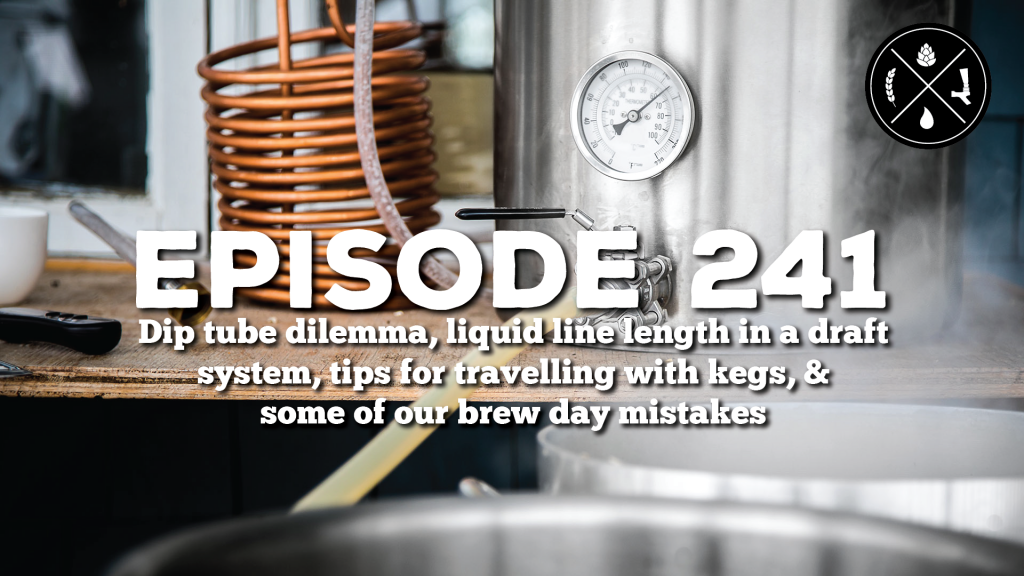
Our first question was about dip tube lengths in a homebrew keg and whether or not it matters that the gas dip tube is just as long as the liquid side (which basically touches the bottom of the keg). Check out homebrew kegs, dip tubes, and other accessories here: https://www.kegconnection.com/homebrew-kegs/
The next question came from a listener who wants to know if there is a formula to follow that will ensure the proper length of liquid tubing in his kegerator system. This is the most Todd question I could’ve included on the show so you can trust that he thoroughly answered this. For liquid tubing, visit here: https://www.kegconnection.com/beer-hose/
After that, we discussed a question submitted by a community member who is travelling on vacation and wants to take his homebrew keg of beer with him. We get this question a lot and it’s good to remind people the helpful tips we have for taking your beer on the go! For a great draft kit solution, check this out: https://www.kegconnection.com/draft-beer-at-home-and-on-the-go-deluxe-kegerator-kit/
We wrapped up this week’s show with a question about our biggest brew day mistakes that still resulted in decent beer. Believe it or not, we’re no strangers to making mistakes (even during our brew days!) so we had a lot of fun with this question. For the freshest ingredients please visit here: https://www.kegconnection.com/ingredients
We want to hear from you!
If you have a question that you’d like us to discuss on a future episode, please click on the “Submit a Question” link at the top of our website or you can now call in your questions via our questions hotline @ 325-305-6107 and leave your message after the beep. This is a friendly reminder that, if we choose your question for a future episode, we give you a $25 gift card to that episode’s sponsor!
Hey there, home brewer! We’re happy to have you join us for this “special” video segment we recorded after brewing SEVEN (7) batches of the same pale ale base recipe but using a different Hang’em High Hops pellet in each batch for our aroma hops.
I’m also working on getting the base recipe we used (developed by our BrewersFriend.com friend, the incredible Lorena Evans) turned into a linkable PDF so I’ll replace this blurb with that link as soon as it’s available.
We’d love to hear from you! What styles should we brew with these hops? What should we taste test for future videos?
We are happy for you to join us for yet another fun-filled episode of our Homebrew Happy Hour podcast… the podcast where we answer all of your home brewing questions and discuss anything related to craft beer!
A SUBTLE REMINDER:
If you appreciate the things we do here at Homebrew Happy Hour, consider joining our Trub Club! Not only will you be supporting our efforts, but you’ll also receive exclusive perks such as HUGE discounts on HomebrewSupply.com and Kegconnection.com, welcome packs with our merch, discounts to BrewersFriend.com, and lots more! Click the link and join today — https://www.patreon.com/bePatron?u=21132635
On Today’s Show:
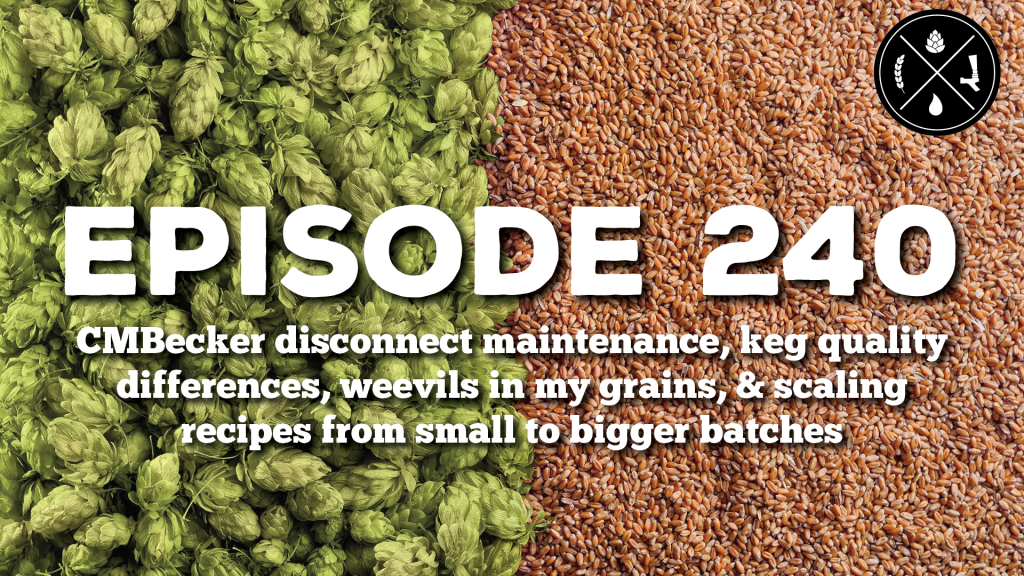
Our first question for this week’s show asked if there is any recommended or required maintenance for our popular CMB disconnects. Thankfully, we have Mr. CMBecker himself – James Carlson – on our show and he was able to thoroughly answer this for our listener, Phil. If you’re interested in using the best disconnects on the market, check them out here: https://www.kegconnection.com/disconnects/
Next, we help out John who wanted to know more about the different “grades” of kegs that we personally use and if it’s “worth” spending the little bit of extra money on buying new kegs versus used/refurbished kegs. To shop top quality new and used kegs, visit here: https://www.kegconnection.com/homebrew-kegs/
After that, our third question for this week’s show came from a member of our community who wanted to know if the presence of a weevil in his grain bag (he reassured us that he didn’t get his grains from us, lol) meant that the grains are now unusable. You might be surprised by our answer! Shop the highest quality grains here: https://www.kegconnection.com/brewing-grains/
Then we wrapped up this week’s show with a question from our buddy Rob who wanted to know about scaling recipes. We hope we demystified it a little for you because it really can be as easy as using an awesome tool like Brewer’s Friend to do it for you OR you can buy multiple quantities of your favorite recipe kits to bring up the volume (if you want 15 gallon batch of your favorite 5 gallon recipe kit, buy 3 of those kits!). Shop the best award winning recipe kits here: https://www.kegconnection.com/beer-recipe-kits/
We want to hear from you!
If you have a question that you’d like us to discuss on a future episode, please click on the “Submit a Question” link at the top of our website or you can now call in your questions via our questions hotline @ 325-305-6107 and leave your message after the beep. This is a friendly reminder that, if we choose your question for a future episode, we give you a $25 gift card to that episode’s sponsor!
We’re so excited for you to join us for yet another fun-filled episode of our Homebrew Happy Hour podcast… the podcast where we answer all of your home brewing questions and discuss anything related to craft beer!
A SUBTLE REMINDER:
If you appreciate the things we do here at Homebrew Happy Hour, consider joining our Trub Club! Not only will you be supporting our efforts, but you’ll also receive exclusive perks such as HUGE discounts on HomebrewSupply.com and Kegconnection.com, welcome packs with our merch, discounts to BrewersFriend.com, and lots more! Click the link and join today — https://www.patreon.com/bePatron?u=21132635
On Today’s Show:
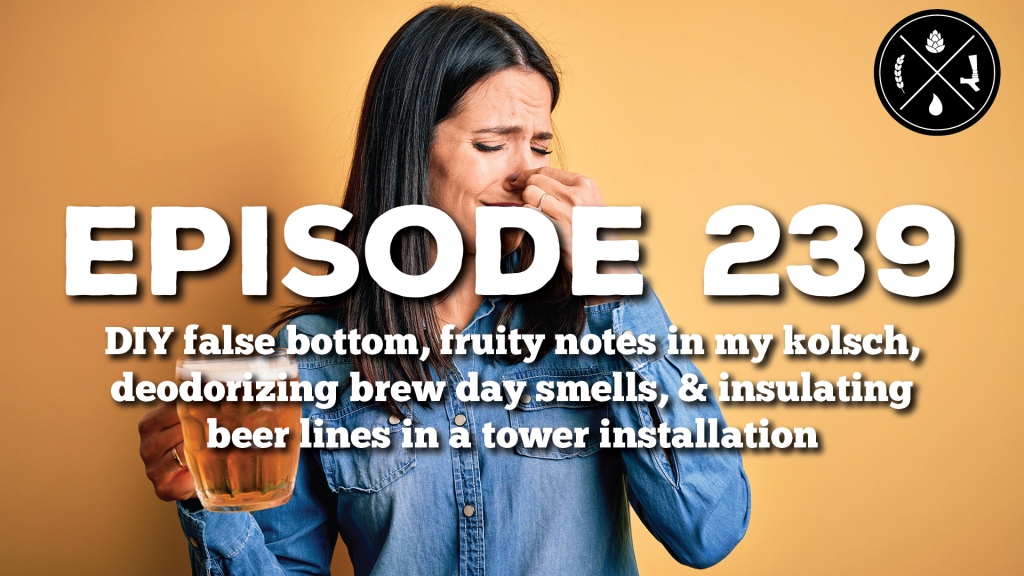
We take a question from a listener who is ready to start allgrain brewing and wants to know which false bottom to get OR if they should just make their own. We recommended this one (it’s usually low in stock and gets sold as soon as we stock them!): https://homebrewsupply.com/stainless-steel-domed-false-bottom-12/
Then, we discuss a question submitted that asked why fruity notes might appear in a kolsch but not until weeks after kegging it. Having some subtle fruity notes in your kolsch is super normal but James had some ideas on how to minimize it if that’s not a desired flavor you’re going for. The kolsch kit mentioned in this question is: https://www.kegconnection.com/brians-kolsch-kolsch-cup-2021-grand-champion-recipe/
Then, we get a funny question from a guy who loves to brew but his girlfriend can’t stand the smell. While we can’t relate to that, we did our best to offer some good (and some truly awful) advice for our friend.
We wrapped up this week’s show with a question about keeping beer lines as cool as possible, specifically in a tower installation scenario. Todd had some solid advice and also mentioned utilizing this: https://www.kegconnection.com/beer-tower-cooler-kit/
We want to hear from you!
If you have a question that you’d like us to discuss on a future episode, please click on the “Submit a Question” link at the top of our website or you can now call in your questions via our questions hotline @ 325-305-6107 and leave your message after the beep. This is a friendly reminder that, if we choose your question for a future episode, we give you a $25 gift card to that episode’s sponsor!
We’re so excited to have you back for another fun-filled episode of our Homebrew Happy Hour podcast… the podcast where we answer all of your home brewing questions and discuss anything related to craft beer!
A SUBTLE REMINDER:
If you appreciate the things we do here at Homebrew Happy Hour, consider joining our Trub Club! Not only will you be supporting our efforts, but you’ll also receive exclusive perks such as HUGE discounts on HomebrewSupply.com and Kegconnection.com, welcome packs with our merch, discounts to BrewersFriend.com, and lots more! Click the link and join today — https://www.patreon.com/bePatron?u=21132635
On Today’s Show:
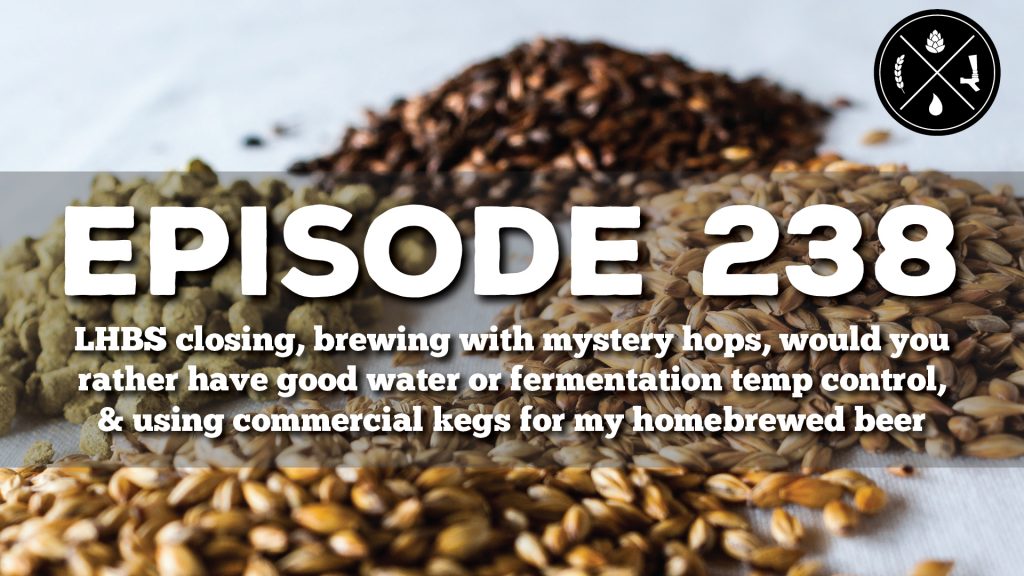
We start our show with a question from a listener who’s local homebrew supply shop, unfortunately, had to close their doors and he wants to know what to look for when ordering from an online retailer. Spoiler alert: we’re very biased about Kegconnection.com and HomebrewSupply.com!
Then, we discuss what we might do if we found ourselves in the same position as a community member who was given a large amount of “mystery” hops. He has no idea how to identify them and he doesn’t want them to go to waste. What would you do in his situation?
After that, we took a question that posed an odd scenario: if you had to choose between having “good” water versus having temperature controlled fermentation – which would you choose?
Finally, we wrap up this week’s show with a text message submission asking about using sanke kegs instead of corny kegs for kegging homebrewed beer.
We want to hear from you!
If you have a question that you’d like us to discuss on a future episode, please click on the “Submit a Question” link at the top of our website or you can now call in your questions via our questions hotline @ 325-305-6107 and leave your message after the beep. This is a friendly reminder that, if we choose your question for a future episode, we give you a $25 gift card to that episode’s sponsor!
We’re so excited to have you here for another fun-filled episode of our Homebrew Happy Hour podcast… the podcast where we answer all of your home brewing questions and discuss anything related to craft beer!
A SUBTLE REMINDER:
If you appreciate the things we do here at Homebrew Happy Hour, consider joining our Trub Club! Not only will you be supporting our efforts, but you’ll also receive exclusive perks such as HUGE discounts on HomebrewSupply.com and Kegconnection.com, welcome packs with our merch, discounts to BrewersFriend.com, and lots more! Click the link and join today — https://www.patreon.com/bePatron?u=21132635
If you have a question that you’d like us to discuss on a future episode, please click on the “Submit a Question” link at the top of our website or you can now call in your questions via our questions hotline @ 325-305-6107 and leave your message after the beep. This is a friendly reminder that, if we choose your question for a future episode, we give you a $25 gift card to that episode’s sponsor!
Welcome back to our Homebrew Happy Hour podcast… the podcast where we answer all of your home brewing questions and discuss anything related to craft beer!
A SUBTLE REMINDER:
If you appreciate the things we do here at Homebrew Happy Hour, consider joining our Trub Club! Not only will you be supporting our efforts, but you’ll also receive exclusive perks such as HUGE discounts on HomebrewSupply.com and Kegconnection.com, welcome packs with our merch, discounts to BrewersFriend.com, and lots more! Click the link and join today — https://www.patreon.com/bePatron?u=21132635
On Today’s Show:
Todd and James were nice enough to join me to take your questions because Lord knows I can’t do this show on my own! Specifically, I get called out for still having breakfast stout on tap (don’t judge me – I’m trying to make it last!). We also talk about what size kettle you should have if you’re trying to brew specific gallon amounts of beer. Then, we talk about the need (or lack thereof) to replace heating elements on your electric brewing system. We close our the Q&A section with a listener who received a Blichmann Beer Gun and wants to know if he should use it for filling his growlers as well as bottles.
We want to hear from you!
If you have a question that you’d like us to discuss on a future episode, please click on the “Submit a Question” link at the top of our website or you can now call in your questions via our questions hotline @ 325-305-6107 and leave your message after the beep. This is a friendly reminder that, if we choose your question for a future episode, we give you a $25 gift card to that episode’s sponsor!
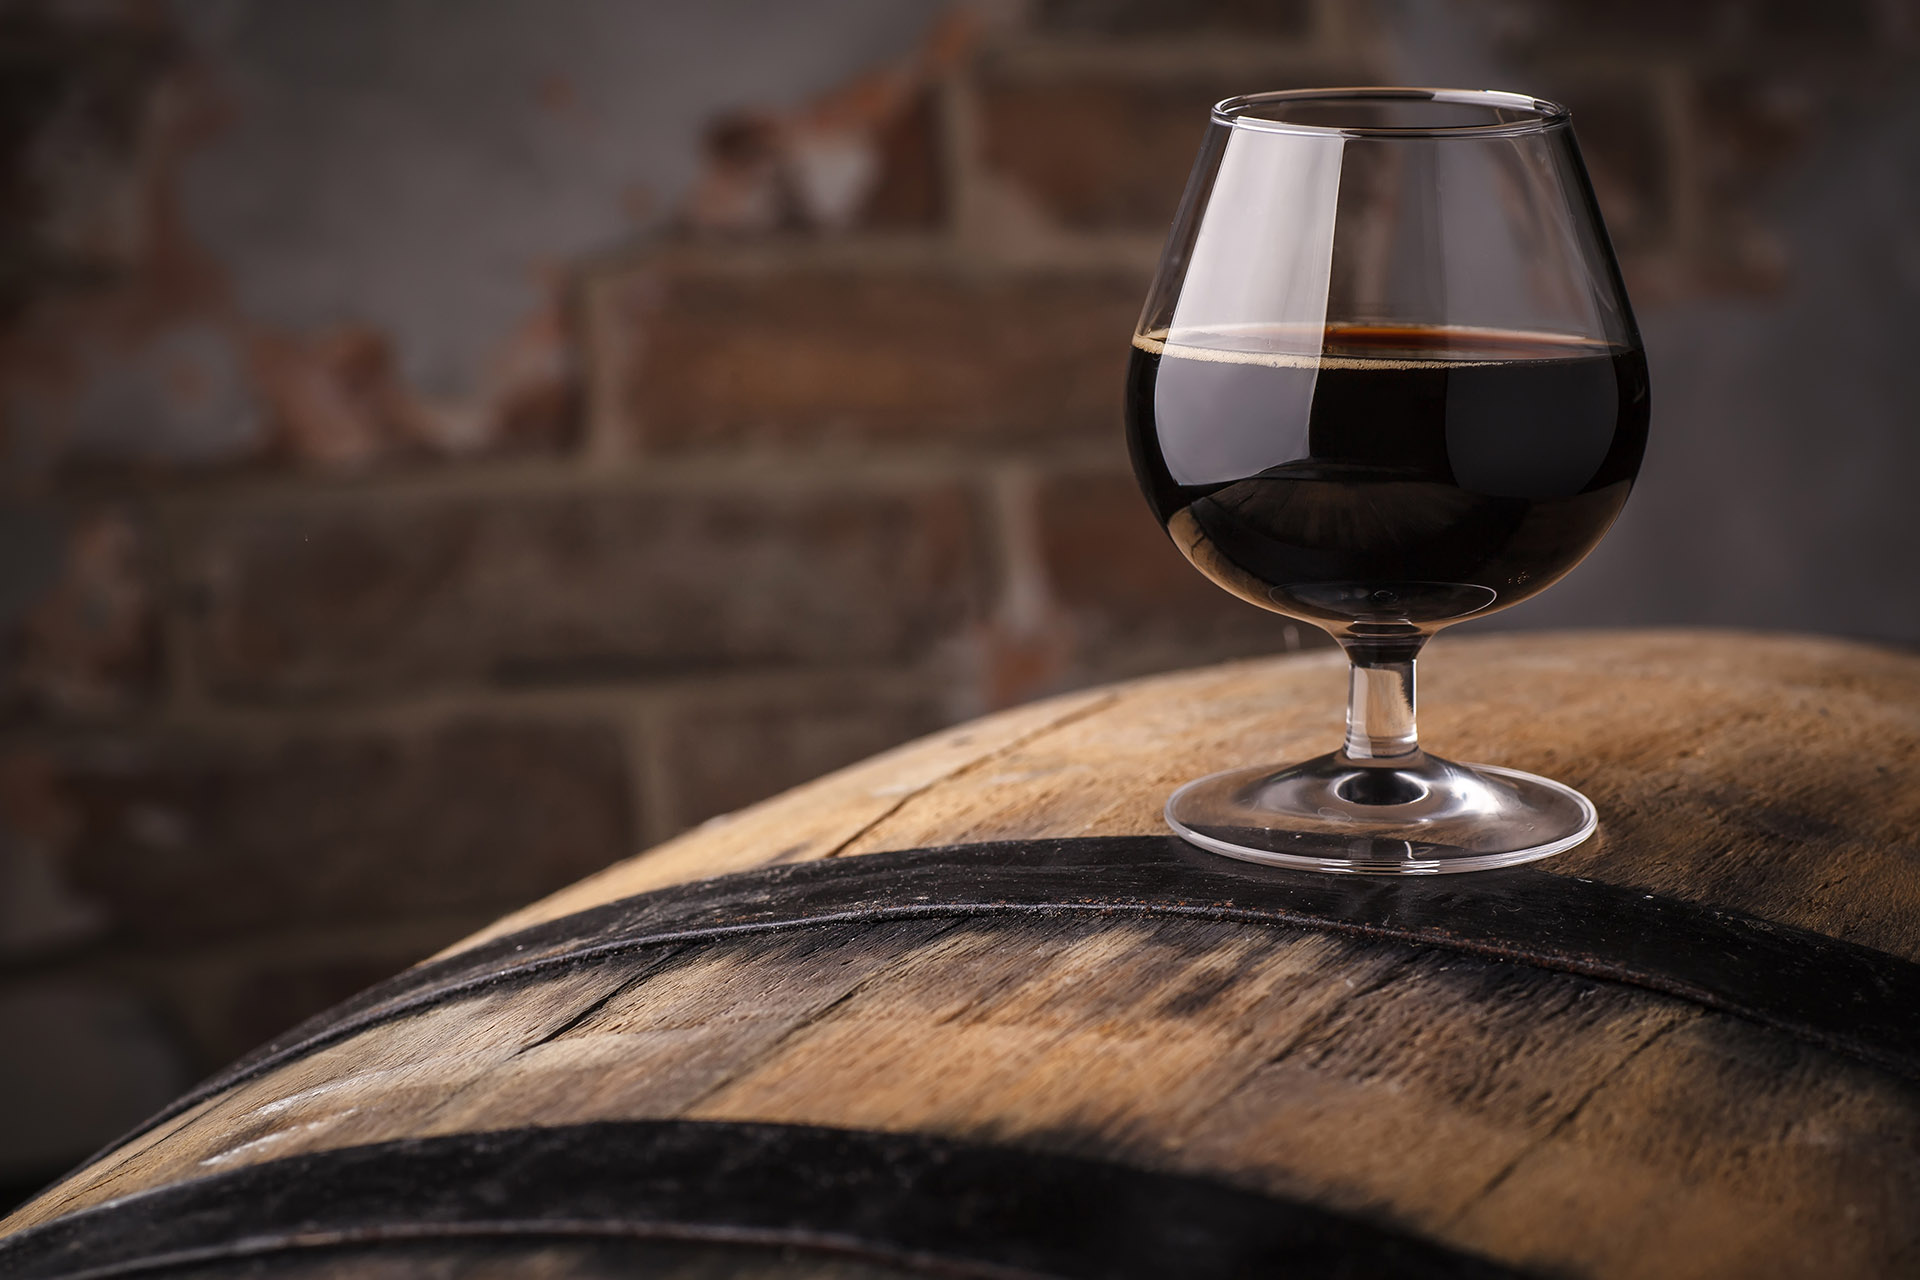
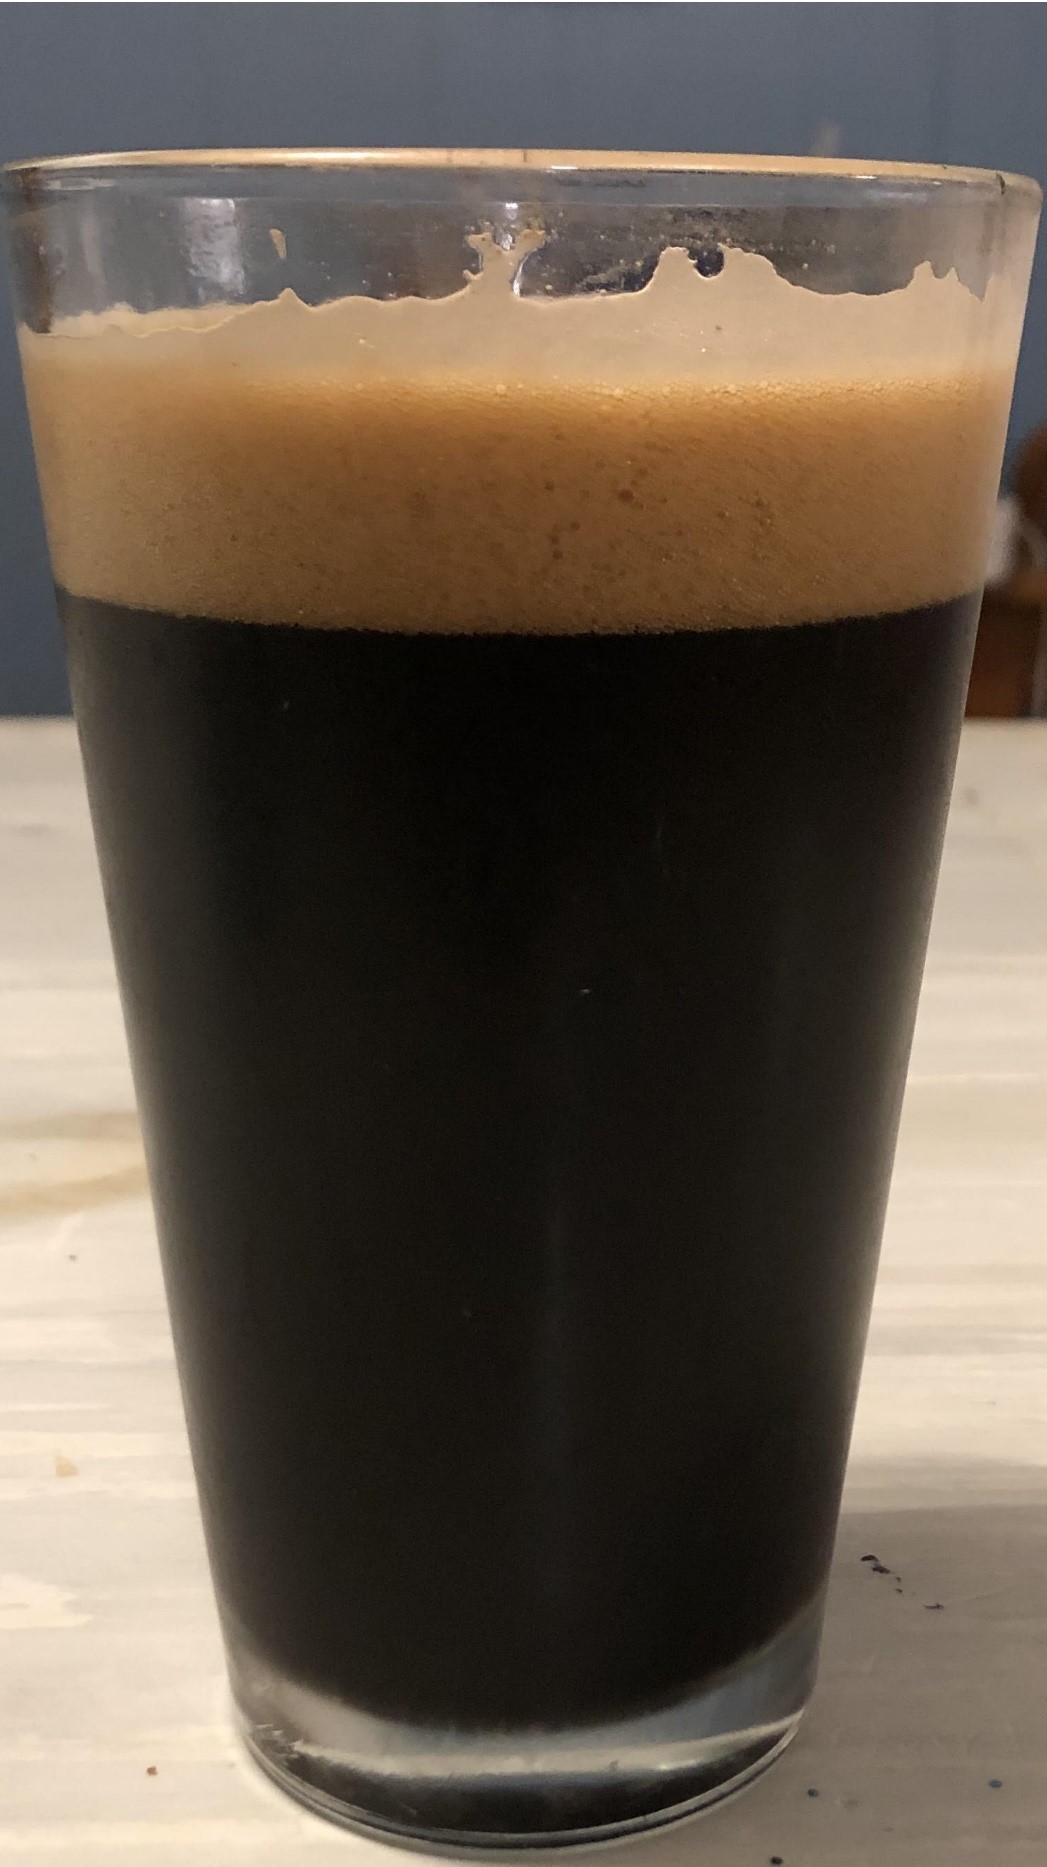
Imagine yourself sitting outside by a fire on a cool, brisk evening sipping a beer. For me, the perfect beer for such an evening would be a bourbon barrel aged stout. The months, and sometimes years that the beer ages in that barrel are truly a testament to the patience of the brewer. For a brief, very brief period I contemplated buying a barrel and trying to replicate some of my favorites at home. Unfortunately, I am a very impatient brewer and I really do not have a temperature-controlled space to store a barrel of beer. Seriously, why wait several months for something when I can find a shortcut?
Your favorite local brewery has painstakingly brewed their beer and fermented it before transferring it to a used bourbon barrel, more than likely several barrels. It then sits and soaks in all the glorious bourbon flavoring for about nine months to a year. All the while the brewers periodically check and taste the beer to see when it has aged to their satisfaction. The question is now, how can we replicate that taste at home with limited space and time?
Before we begin, we need to decide what flavors are we trying to achieve? Do we want to strictly get the bourbon flavor to accent our base beer? Or are we looking for the bourbon and the wood flavors to meld with our base beer? There are a variety of methods to achieve your desired goal. Some require a little extra time and space, while others add very little or no time to the process before you can sit in front of a fire and sip your masterpiece.
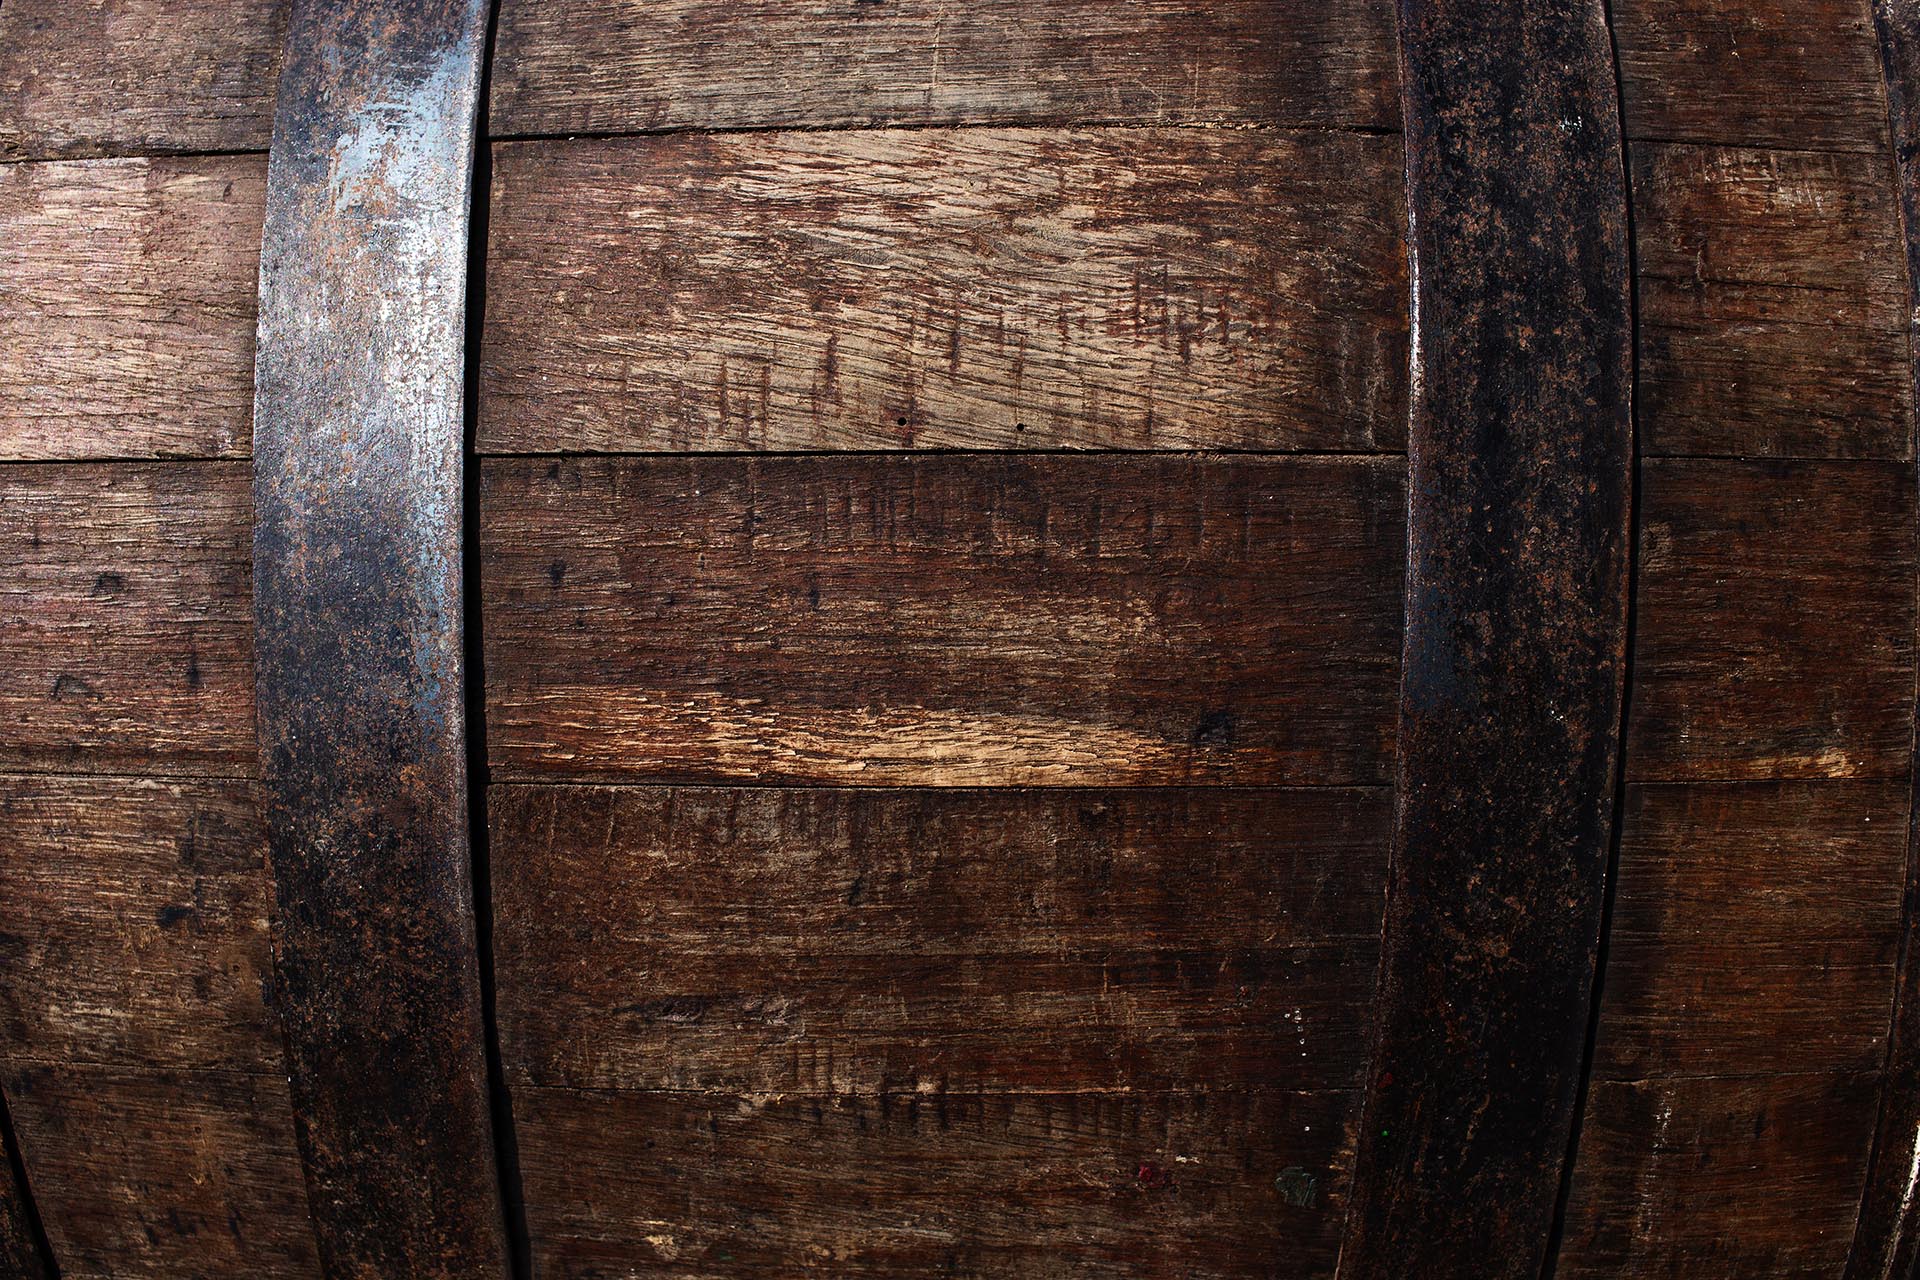
Let’s start with the ambitious option. There are some distilleries that use small five gallon barrels in which they age their bourbon, and you can find some of those used barrels for sale, anywhere from around $100 to $175. It is important to get a recently “dumped” barrel as the oak staves are still wet and the barrel will hold your precious beer inside, vice leaking out all over your storage room. Since the majority of Homebrewers brew five gallon batches, these are perfect for the overachievers among us. The smaller size of the barrel shortens the aging process as there is a higher percentage of the beer in contact with the barrel. You need to taste it as it ages to be sure that you know when it is done. It is much easier to let it sit for a little while longer than it is to get the flavor out once it is there. This option will add a month or more to your process, so plan accordingly.
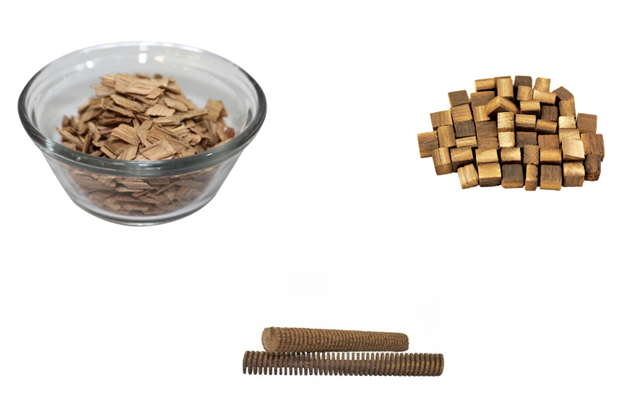
The next option is for those that want some bourbon flavor as well as some additional flavors from the wood itself. You can buy oak staves, spirals, cubes, chips, or even powder, of course to be bourbon accurate, I should specify that you look for American Oak. Since we are Homebrewers and the TTB is not looking over our shoulder to be sure that we are using the correct oak, we can use whatever we want. Simply soak your oak in bourbon for a few days to a week to allow the oak to soak up the bourbon. I usually add enough bourbon to a quart jar to cover the oak, the amount will vary depending on your choice of oak. After the oak has soaked in the bourbon, drain off the bourbon and add the oak to your fermented beer in your fermenter. Alternatively, you can add the oak and the bourbon to your fermenter to get a stronger bourbon flavor. How long you leave the oak in your fermenter is based solely on your own personal taste. If you leave the wood too long in your fermenter it will overpower all of the other flavors and aromas in your finished beer. I suggest checking it after a week to see if the flavor and aroma is where you want it.
The last option is the ultimate “cheat”. Denny Conn, a Governing Committee member of the American Homebrewers Association, has subscribed to the idea of adding the bourbon at bottling or kegging. His opinion is based on what we discussed earlier. What flavor or aromas are we trying to achieve? If we simply want bourbon flavor then why not add it at the end? There is no extra time or space needed. If you read the blogs and forums, watch YouTube, listen to podcasts, or talk to your homebrewing friends, you will likely get a hundred different opinions on the amount of bourbon to add. Just like the aging in a barrel or on oak, once it is in there, you cannot take it out.
One easy way, albeit a bit longer method of deciding how much bourbon to add is to brew a batch of the base beer and try adding different amounts of bourbon to a pint of your beer. Once you are satisfied with the bourbon levels in that serving, it goes back to elementary school math, although you may want to check your math sober. In a standard five gallon batch there are approximately 53 twelve ounce servings of beer, depending on how closely you hit your target volumes. Simply multiply the amount of bourbon you added to your beer to get your desired flavor by 53. For example, if your taste test revealed that you prefer .5 ozs of bourbon per serving, multiply 53 times .5 and you will get 26.5ozs of bourbon to add to your beer at bottling or kegging. Now you know that when you brew the base beer again, you will add the bourbon directly to your bottling bucket or your keg when you transfer your beer.
The following is a beer that I brewed last year that turned out excellent and would be a great addition to your lineup for the upcoming cold winter months. Due to my aforementioned impatience, I added one cup, eight ozs of bourbon and two ozs of pure vanilla extract at kegging. I went with eight ozs of bourbon because I wanted some subtle bourbon character but I did not want it to be at the forefront of the flavor.
We are very excited to welcome you back to our Homebrew Happy Hour podcast… the podcast where we answer all of your home brewing questions and discuss anything related to craft beer!
A SUBTLE REMINDER:
If you appreciate the things we do here at Homebrew Happy Hour, consider joining our Trub Club! Not only will you be supporting our efforts, but you’ll also receive exclusive perks such as HUGE discounts on HomebrewSupply.com and Kegconnection.com, welcome packs with our merch, discounts to BrewersFriend.com, and lots more! Click the link and join today — https://www.patreon.com/bePatron?u=21132635
On Today’s Show:
I know I said “Happy HomebrewCon” at the top, even though this is NOT our HomebrewCon presentation, but I mentioned it because HomebrewCon is going on RIGHT NOW as you’re reading this… or, if you’re late to this episode, it already happened and we probably had a blast and totally didn’t mess up our presentation or do a bad job at all, right?!
If you don’t know what HomebrewCon is, the best way to describe it is “an awesome 3 days of informational seminars, fun hang outs, and growing as a homebrewer”. Go over the HomebrewCon.org right now and sign up to join the fun.
Free 1lb bag of Brew Clean powdered cleaner Free metal tintacker bar sign for the Brautag Free Brautag baseball cap
We want to hear from you!
If you have a question that you’d like us to discuss on a future episode, please click on the “Submit a Question” link at the top of our website or you can now call in your questions via our questions hotline @ 325-305-6107 and leave your message after the beep. This is a friendly reminder that, if we choose your question for a future episode, we give you a $25 gift card to that episode’s sponsor!


 Now all that is left to do is light a fire, lean back, stare at the stars and sip your brew.