
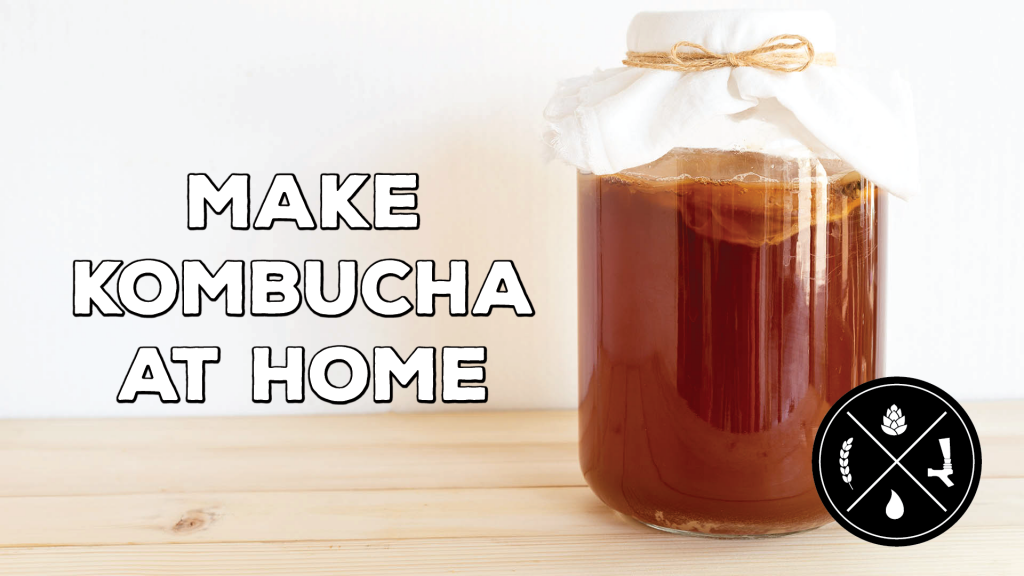
Making kombucha at home is fun and easy!
I’m not even kidding. Brewing kombucha is probably the easiest beverage I’ve ever brewed. It’s almost as easy as making carbonated water (which isn’t “brewing” at all and is just adding carbonation to a keg or bottle of water…). The reason I’m emphasizing the ease of brewing kombucha is because I know how popular this drink is becoming and I also know how expensive kombucha can cost when you buy it at the store. To be honest – I don’t understand why it costs so much! No fears – I’m here to help you save money and brew your own batches at home.
Below, we’ll go over what you need to begin brewing at home and brew in “small batch” quantities (1 gallon batches). When you’re finished brewing, you always have the option to bottle your batch, keg your batch, or you can forgo carbonation altogether and just transfer your kombucha into a serving pitcher and keep it in the fridge. There are lots of options so let’s get going!
What you’ll need
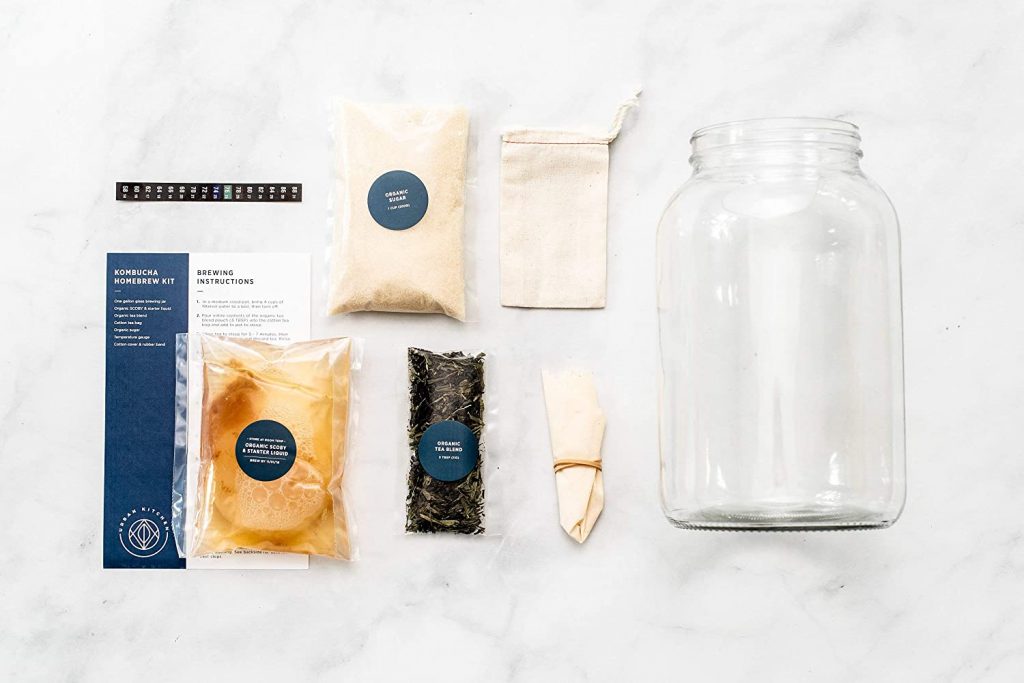
Again, we’ll be brewing a one-gallon batch today so the equipment and ingredients listed below are specifically for brewing one-gallon batches. You can always scale these numbers if you’d like to brew larger batches! Also, I’d highly recommend that if you’re brand new to brewing kombucha that you pick up a starter kit much like this one on Amazon (CLICK HERE).
6 to 8 – caffeinated tea bags
1 – cup of sugar
1 – cloth covering + rubber band for your jar (I use these unbleached muslin covers)
1 – adhesive thermometer for your glass jar
1 – SCOBY
If you buy the kit I linked to above, you’ll receive all of the above except for the stock pot which many of you probably already possess. It’s a great deal and a very affordable way to begin your kombucha making journey!
Brewing Instructions
10. Place your brewing jar in a warm place, out of direct sunlight, with plenty of airflow (no closed cupboards). Leave it there for 7-9 days and do not move it.
11. By days 7-9, you will see a new, cream-colored layer has grown in on the top of your brew. This is your new SCOBY! While trying not to disturb the new culture on top, use a spoon to taste test your brew.Taste awesome? You’re done! Still a little too sweet? Put the cloth back on and let it ferment a few more days.
12. Once your kombucha is done, you can pour your tea into a serving container. Keep your SCOBY in your glass jar with enough tea to keep it submerged if you plan on making more kombucha in the future.
Personally, I prefer to keg my batches of kombucha and we’ll make a video to go over that in the near future. Once we make that video, I’ll embed it here in this article so you’ll be able to easily find it! If you do want carbonation but don’t want to keg, you can follow the steps below and bottle your batch.
Bottling Instructions
- Using a funnel, pour the kombucha into each bottle, leaving an inch or so of space at the top
2. Seal the bottles tightly and store in a warm, dark place for 2-5 days
3. After 2-5 days, move your bottles into your refrigerator
4. Once chilled, pop the top and enjoy your very own homebrewed kombucha!
If you want to experiment with flavoring, you can add your favorite combination of fruits, juices, or herbs to each bottle (or keg) before doing these steps. Everything is “to flavor” so add as much or as little adjuncts as you prefer depending on your tastes.
THAT’S IT!
Congrats on brewing your first batch of kombucha! It was easy, wasn’t it? When you’re ready to brew another batch, you can use the scoby from your first batch and just repeate steps 1-12 in this list. If possible, keep your brewing jar and your “SCOBY HOTEL” (the jar you’ll be keeping your SCOBY’s in for future use) between 68-86 degrees Fahrenheit. Mid-70’s is optimal, which works out great since that’s about the temperature kept in the average household.
One of the best parts about brewing kombucha is that you’ll continuously produce newer and newer SCOBYs that you can either use for yourself in future batches or you can share these with your friends and get them into brewing their own kombucha too!
Please let us know if you need any help or if you have any questions regarding this article.
A SUBTLE REMINDER:
If you appreciate the things we do here at Homebrew Happy Hour, consider joining our Patreon community! Not only will you be supporting our efforts, but you’ll also receive exclusive perks such as HUGE discounts on HomebrewSupply.com and Kegconnection.com, welcome packs with our merch, discounts to BrewersFriend.com, and lots more! Click the link and join today — https://www.patreon.com/bePatron?u=21132635