
We hope you’re doing well, homebrewer!
and we welcome you to our Homebrew Happy Hour podcast… the podcast where we answer all of your home brewing questions and discuss anything related to craft beer!
A SUBTLE REMINDER:
If you appreciate the things we do here at Homebrew Happy Hour, consider joining our Patreon community! Not only will you be supporting our efforts, but you’ll also receive exclusive perks such as HUGE discounts on HomebrewSupply.com and Kegconnection.com, welcome packs with our merch, discounts to BrewersFriend.com, and lots more! Click the link and join today — https://www.patreon.com/bePatron?u=21132635
On Today’s Show:
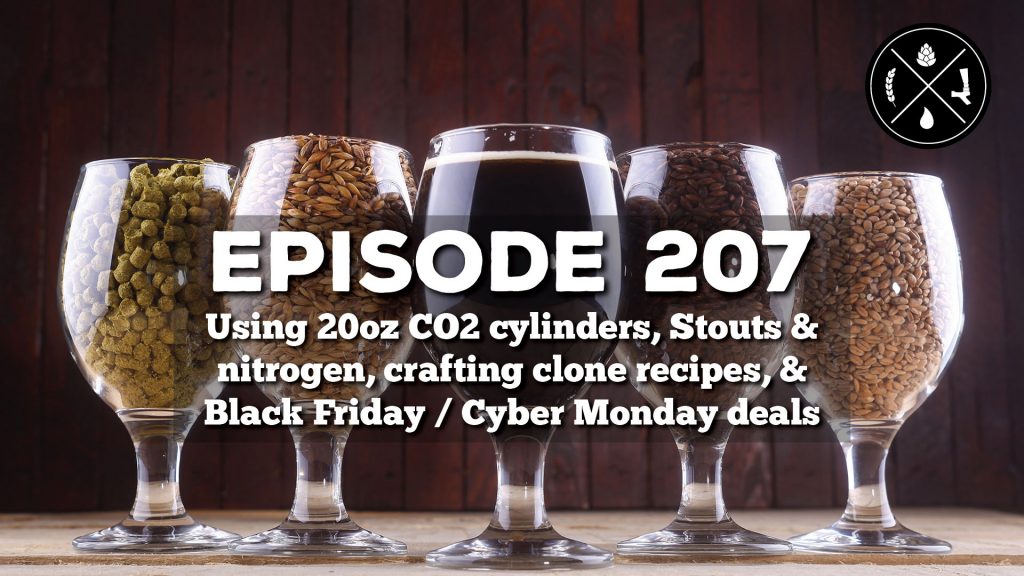
We’re still recovering from the madness of our Black Friday – Cyber Monday weekend stuff but we’re excited to bring you another fun-filled episode this week!
Todd and James join me to discuss YOUR questions and talk about some other fun updates we have – such as our new metal beer signs for Patreon members! That’s right: if you’re in a recipe receiving tier of our Patreon community, you’ll be getting a sweet new metal sign sent with your next kit. It’s our way of saying “THANK YOU” for your support and we appreciate everyone in our community. You can learn more by visiting Patreon.com/HomebrewHappyHour where you’ll also see our recently announced recipe kits for December. Fun stuff so go check it out!
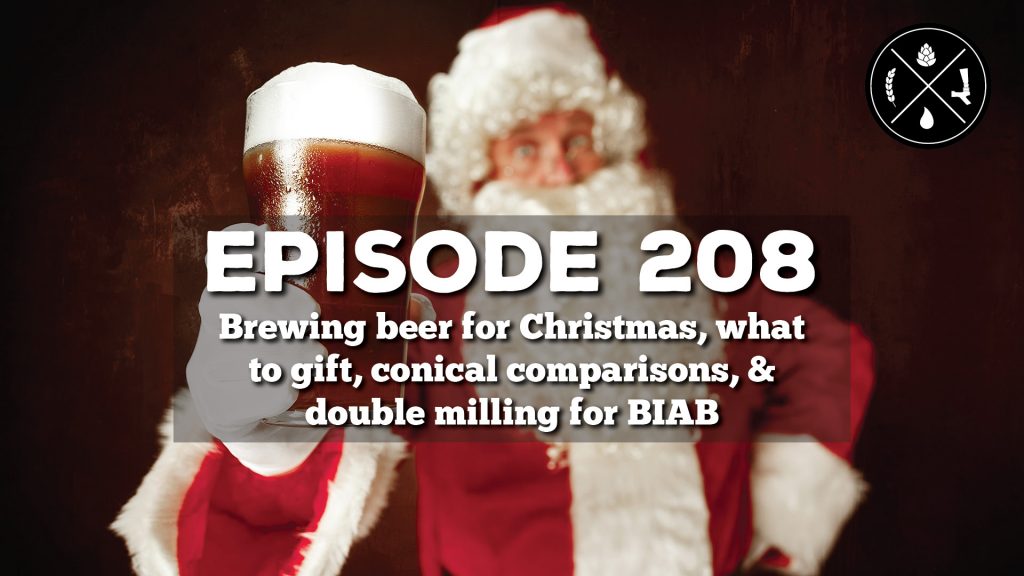
In this episode, we talk about how late is “too late” in regards to making beer to enjoy on Christmas day. We also have a question about giving the perfect gift to the homebrewer in your life. Another listener wrote in asking for our opinions on conical fermenters and what features should they be looking for and, finally, we discuss the point of double milling and why people who do “brew in a bag” (or BIAB) are double milling their grains.
We want to hear from you!
If you have a question that you’d like us to discuss on a future episode, please click on the “Submit a Question” link at the top of our website or you can now call in your questions via our questions hotline @ 325-305-6107 and leave your message after the beep. This is a friendly reminder that, if we choose your question for a future episode, we give you a $25 gift card to that episode’s sponsor!
Let us know what you think and enjoy the show!
cheers,
joshua
————————–
![]()
Today’s show is brought to you by HomebrewSupply.com! HBS has all of your favorite recipe kits, fresh ingredients, and homebrew equipment in stock. Homebrew Happy Hour listeners can visit HomebrewSupply.com and use the promo code “HHH” to receive 5% off your order.
————————![]()
Thank you to our show’s sponsor, Imperial Yeast, for supporting us and the homebrewing community. Learn more about why we LOVE Imperial Yeast by checking out their entire line, available at HomebrewSupply.com: https://homebrewsupply.com/ingredients/yeast/imperial-yeast/
————————–
Become a Patron! Reminder that these episodes are ultimately made possible because of YOUR support. Consider becoming a member of our newly launched Patreon page and receive perks such as merch, exclusive group access and content, recipes, and some tiers even get monthly recipe kits mailed to you! https://www.patreon.com/HomebrewHappyHour