
Becoming a Beer Judge

Thinking about becoming a beer judge?
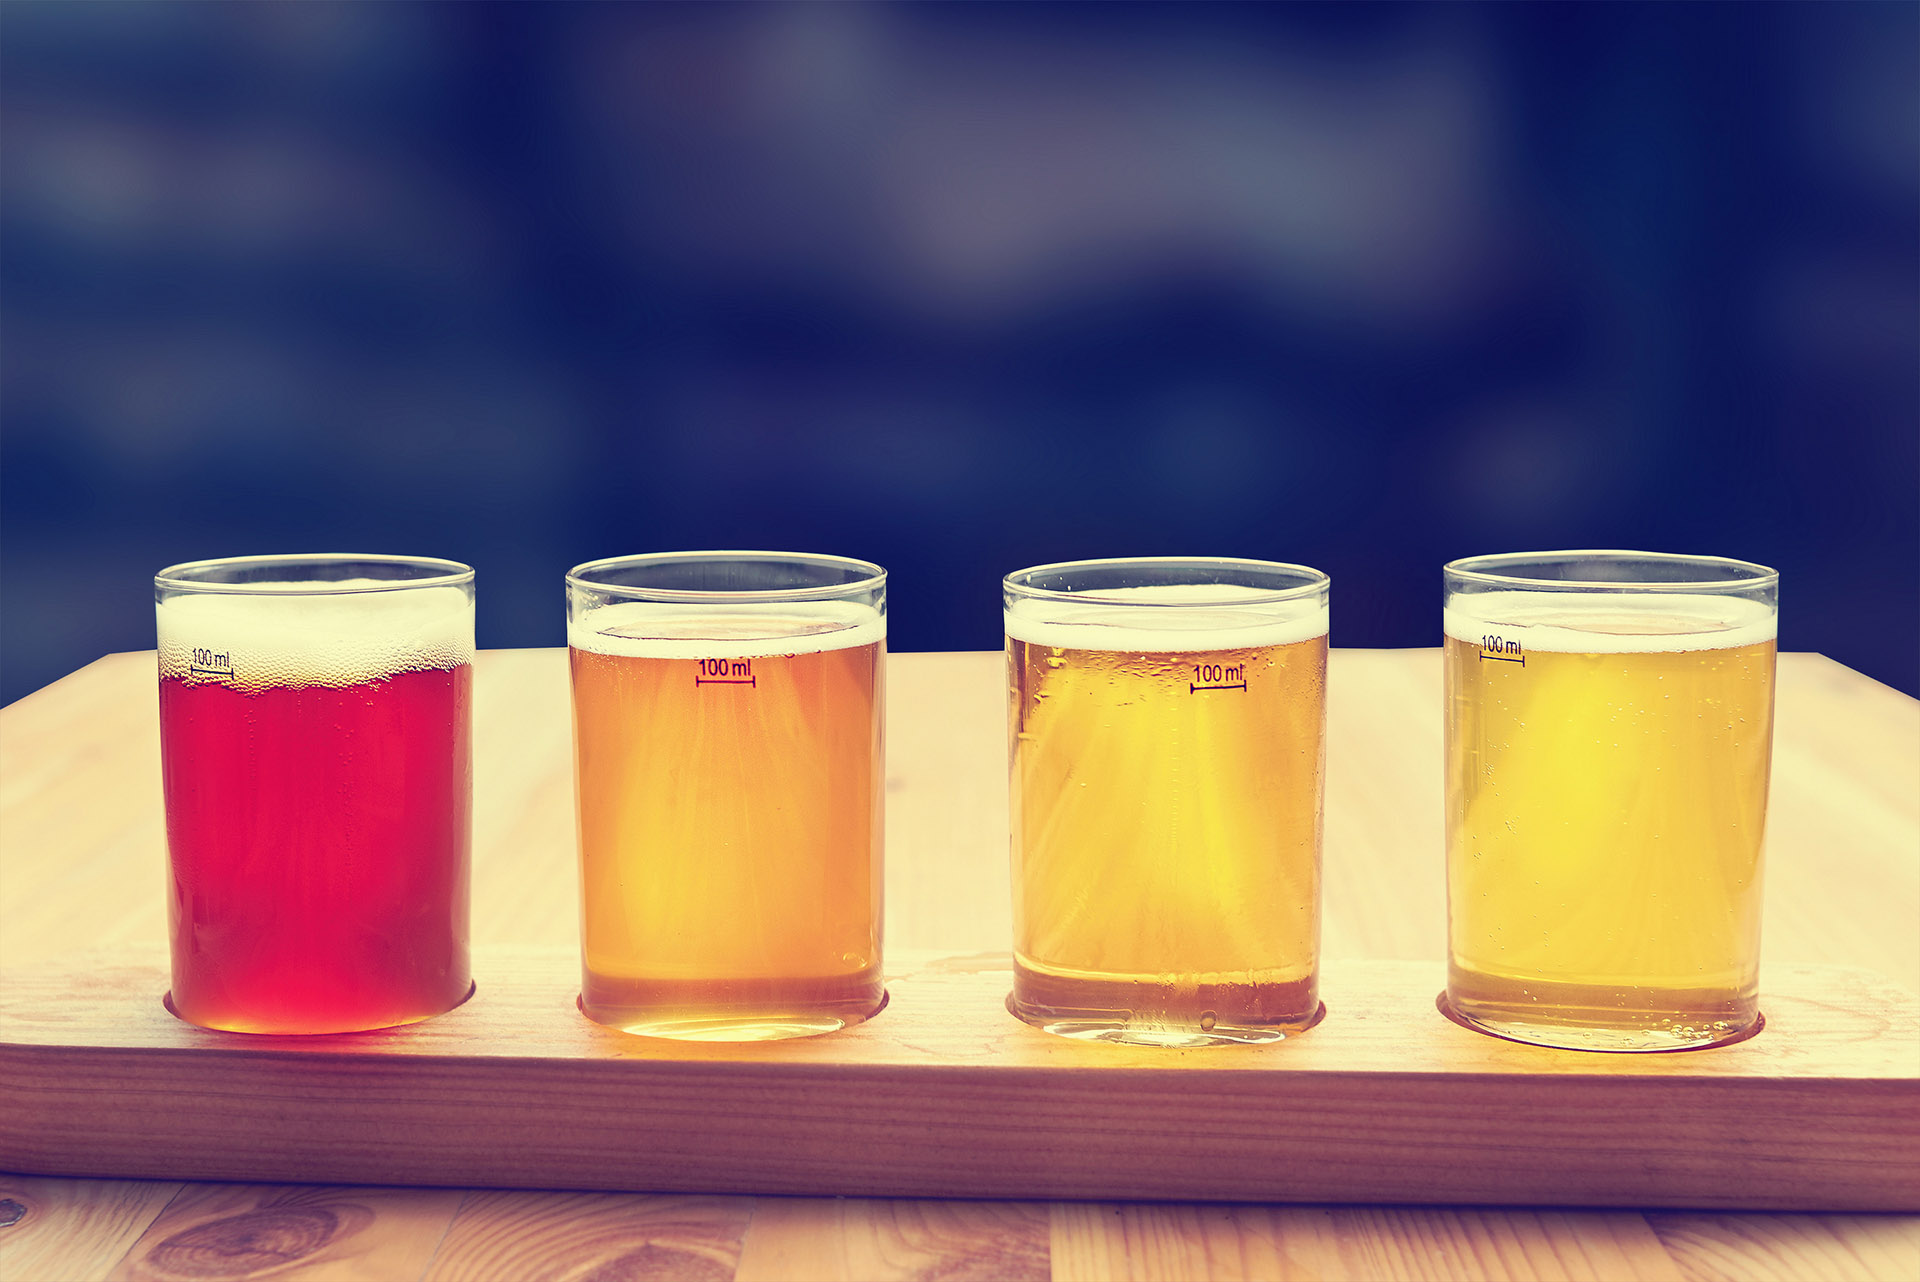
There are a myriad of reasons for one decide they would like to become a beer judge. Some may wish to judge beer competitions, others may want to enhance their sensory perception in their own brewing, while others may look at it as an education opportunity to learn about beer styles and historical brewing practices. An often overlooked benefit to becoming a judge is that the process may benefit your own beer. By studying the causes of off-flavors and the ways to prevent them via adapting your brewing techniques, you may find that your own beer is greatly enhanced.
The most well-known judge certification program is the BJCP- the Beer Judge Certification Program. While “beer” is one of the names of the program, this organization also has guidelines for cider and mead. The main objective of the BJCP is to provide a standardized program to train beer judges, providing education, appreciation and knowledge of the world’s beer styles. They have many sanctioned competitions world-wide and entering a competition is a great way to get impartial feedback on your brew.
Even if you don’t actually become a registered judge, the process of preparing to take the exam can be very valuable to you in tasting and brewing your own beer. Whatever the reasons for wanting to become a beer judge, the process is fairly straightforward. With the BJCP, the first step is to learn about beer styles, and begin tasting beer. That sounds easy, and it is! Instead of simply drinking a beer, begin actually tasting it. The idea is to evaluate this beer fully. Start by pouring and simply trying to enjoy the aroma. What do you smell? Consider the mouthfeel, and the flavors you detect. Even if you don’t have the exact words, try to label the flavor and the sensation. Is it smooth/harsh/thin? Does the flavor remind you of breadcrusts, or toast? Is it grainy? Do you notice citrus notes? Is it sweet in the finish? Fully experience each swallow, and then compare the differences you note as you finish the beer. To help with this, the BJCP has a list of style guidelines for each named beer style, so that you can read about a Munich dunkel while you drink one, to learn some of the words associated with that style.
(See the BJCP guidelines here: https://www.bjcp.org/docs/2015_Guidelines_Beer.pdf). For example, a Munich dunkel is “bready-toasty” and may have hints of chocolate or caramel. As you sip, concentrate on the flavor and note these words that come to mind. This sensory analysis is made easier if you have a homebrew club with chances for sensory perception training, as others with experience can help with the words for the flavors that you may perceive.
Once you read the style guidelines for your chosen beer, read them again! Understand the beer for the style, so that your expectations of that beer match the description of that style. Note the aroma changes as the beer sits in front of you. Hold it up to the light and notice color, clarity and foam. Does the head linger or fade quickly? As you name the flavors and aromas you perceive, also note the depth/strength of them. Once the more prominent notes fade, try to pick up the more subtle nuances and name them as well. Take note of the hops, the flavor of the malt, any yeast flavors imparted, the amount of sweetness, and the finish as you swallow. Notice any flaws or off-flavors.. All of these add up to the impression and enjoyment of the beer, and make the difference between a “good beer” and an “excellent beer” from a judging standpoint.
The BJCP scoresheet has sections on aroma, flavor, mouthfeel, appearance, and impression as well as some definitions of some of the common off-flavors, so if you can print out a blank scoresheet and look at it as you sip, this can be very helpful. Practice judging a beer with the scoresheet, as that will help you analyze the separate components: https://www.bjcp.org/docs/SCP_BeerScoreSheet.pdf
It is helpful to utilize aids in your study- for example, books discussing different beer styles, the BJCP study guide, internet sites about beer tasting, and also looking into brewing techniques and the common off-flavors that can arise from fermentation mistakes and brewing flaws. A local homebrew club or online club can be extremely helpful in this process, as when you taste a beer with a flavor that isn’t familiar, someone can help you name it. If you’ve never been told that a “phenol” is clove-like or medicinal, or that an “ester” can be fruity like bananas, it’s hard to recognize those on your own. That said, it is possible to do self-study and with plenty of tasting and reading, you can definitely become a beer judge without a single class or meeting.
Educational aids such as off-flavor flash cards, off-flavor kits (to doctor commercial beers to recognize off-flavors), a beer color wheel, books on recipe formulation and BJCP materials are readily available to assist your journey.
If there is a beer competition in your area, volunteering to steward the exam can be a huge step towards becoming a beer judge yourself. You will be privy to the methods and paperwork that is used in the judging, hear the judges’ discussion of the beer and the scoring process. Usually you will get a pour also to follow along. Judges love to help newcomers learn to become beer judges as well, and will usually answer any questions you may have.
The BJCP’s Study Guide was created to help you become a beer judge. See it here: https://www.bjcp.org/docs/BJCP_Study_Guide.pdf. Once you feel comfortable with your knowledge, they have a practice self-test to simulate the online exam. When you are ready to take the real online exam, the cost for each test or retest is $10. The exam is based on the questions in the Study Guide, and is a pass/fail exam. To take a practice test or the exam, visit the BJCP’s online exam site here: https://bjcp.coursewebs.com/cart/pageCatalog.aspx.
There are also cider and mead online exams available. Once you pass this online exam, you are a provisional judge and then you can be scheduled for a tasting exam to become a registered judge. Currently, due to social distancing and meeting restrictions, there are fewer exams scheduled but you do have plenty of time to take the exam as one becomes available to you. There is an exam calendar on the BJCP site, and you can sign up online.
Preparing to be a beer judge does take time and dedication (and of course, plenty of beer to drink!) and is a worthwhile endeavor. You will enhance your sensory perception, learn to be an impartial critic of your own beers, enjoy learning about historical beers and their genesis, have beer education opportunities, spend time with like-minded beer lovers while studying or judging, and have a broad knowledge of brewing and beer styles. Because of this, the process of learning to judge beer usually leads to being a better brewer in the end.
An Interview with Kölsch Cup 2021 Grand Champion, Brian Geraghty – Ep. 222


Howdy, Homebrewer
and welcome back to our Homebrew Happy Hour podcast… the podcast where we answer all of your home brewing questions and discuss anything related to craft beer!
A SUBTLE REMINDER:
If you appreciate the things we do here at Homebrew Happy Hour, consider joining our Patreon community! Not only will you be supporting our efforts, but you’ll also receive exclusive perks such as HUGE discounts on HomebrewSupply.com and Kegconnection.com, welcome packs with our merch, discounts to BrewersFriend.com, and lots more! Click the link and join today — https://www.patreon.com/bePatron?u=21132635
On Today’s Show:
I am joined by a very special guest and I couldn’t be more excited. He is the man crowed “Grand Champion” by Todd, James, Joe, and myself for the 2021 Kölsch Cup, Mr. Brian Geraghty. I got to talk with him and learn more about his history as a homebrewer, what he’s brewing on, his favorite styles to brew, and a whole lot more. I truly had a great time with Brian on this week’s show!
– We want to hear from you –
If you have a question that you’d like us to discuss on a future episode, please click on the “Submit a Question” link at the top of our website or you can now call in your questions via our questions hotline @ 325-305-6107 and leave your message after the beep. This is a friendly reminder that, if we choose your question for a future episode, we give you a $25 gift card to that episode’s sponsor!
Let us know what you think and enjoy the show!
cheers,
joshua
————————–
![]()
Today’s show is brought to you by HomebrewSupply.com! HBS has all of your favorite recipe kits, fresh ingredients, and homebrew equipment in stock. Homebrew Happy Hour listeners can visit HomebrewSupply.com and use the promo code “HHH” to receive 5% off your order.
Thank you to our show’s sponsor, Imperial Yeast, for supporting us and the homebrewing community. Learn more about why we LOVE Imperial Yeast by checking out their entire line, available at HomebrewSupply.com: https://homebrewsupply.com/ingredients/yeast/imperial-yeast/
————————–
Become a Patron! Reminder that these episodes are ultimately made possible because of YOUR support. Consider becoming a member of our newly launched Patreon page and receive perks such as merch, exclusive group access and content, recipes, and some tiers even get monthly recipe kits mailed to you! https://www.patreon.com/HomebrewHappyHour
Recruiting new brewers, choosing wood for custom mash paddles, repurposing ingredients from mini mash kits for all grain brew days, & is it necessary to air dry when using Iodaphor – Ep. 221

I hope you’re doing well, friend!
Welcome back to our Homebrew Happy Hour podcast… the podcast where we answer all of your home brewing questions and discuss anything related to craft beer!
A SUBTLE REMINDER:
If you appreciate the things we do here at Homebrew Happy Hour, consider joining our Patreon community! Not only will you be supporting our efforts, but you’ll also receive exclusive perks such as HUGE discounts on HomebrewSupply.com and Kegconnection.com, welcome packs with our merch, discounts to BrewersFriend.com, and lots more! Click the link and join today — https://www.patreon.com/bePatron?u=21132635
On Today’s Show:
FIRST OFF – today is a great day. Do you know why today is a great day? It happens to be the first day of Kolsch Cup 2021! As you are watching or listening to this week’s episode, we have started judging 60+ entries of homebrewed kolsch sent in by listeners and we’ll be awarding 1 grand champion on Saturday. I could NOT be more excited!
For this week’s show, Todd and James joined me as we took on your submitted questions. It was a great time and I hope you get as much out of it as I always do.
We want to hear from you!
If you have a question that you’d like us to discuss on a future episode, please click on the “Submit a Question” link at the top of our website or you can now call in your questions via our questions hotline @ 325-305-6107 and leave your message after the beep. This is a friendly reminder that, if we choose your question for a future episode, we give you a $25 gift card to that episode’s sponsor!
Let us know what you think and enjoy the show!
cheers,
joshua
————————–
![]()
Today’s show is brought to you by HomebrewSupply.com! HBS has all of your favorite recipe kits, fresh ingredients, and homebrew equipment in stock. Homebrew Happy Hour listeners can visit HomebrewSupply.com and use the promo code “HHH” to receive 5% off your order.
Thank you to our show’s sponsor, Imperial Yeast, for supporting us and the homebrewing community. Learn more about why we LOVE Imperial Yeast by checking out their entire line, available at HomebrewSupply.com: https://homebrewsupply.com/ingredients/yeast/imperial-yeast/
————————–
Become a Patron! Reminder that these episodes are ultimately made possible because of YOUR support. Consider becoming a member of our newly launched Patreon page and receive perks such as merch, exclusive group access and content, recipes, and some tiers even get monthly recipe kits mailed to you! https://www.patreon.com/HomebrewHappyHour
Kolsch additives, dry hopping essentials, forgetting to sanitize, & indoors vs outdoors brewing – Ep. 220

Howdy!
Welcome to our Homebrew Happy Hour podcast… the podcast where we answer all of your home brewing questions and discuss anything related to craft beer!
A SUBTLE REMINDER:
If you appreciate the things we do here at Homebrew Happy Hour, consider joining our Patreon community! Not only will you be supporting our efforts, but you’ll also receive exclusive perks such as HUGE discounts on HomebrewSupply.com and Kegconnection.com, welcome packs with our merch, discounts to BrewersFriend.com, and lots more! Click the link and join today — https://www.patreon.com/bePatron?u=21132635
On Today’s Show:
I’m freshly moved in to my new home BUT… my new office build out is still being created (thanks to my father-in-law and my Pop!), so that means this week’s episode is slightly under-produced, in my opinion. You have to look at my ugly mug with poor lighting and my kitchen wall as a backdrop… but, at least we were able to produce an episode this week, right?!
I’m so happy that Todd and James were also able to join me and tackle your questions for this week’s show.
We want to hear from you!
If you have a question that you’d like us to discuss on a future episode, please click on the “Submit a Question” link at the top of our website or you can now call in your questions via our questions hotline @ 325-305-6107 and leave your message after the beep. This is a friendly reminder that, if we choose your question for a future episode, we give you a $25 gift card to that episode’s sponsor!
Let us know what you think and enjoy the show!
cheers,
joshua
————————–
![]()
Today’s show is brought to you by HomebrewSupply.com! HBS has all of your favorite recipe kits, fresh ingredients, and homebrew equipment in stock. Homebrew Happy Hour listeners can visit HomebrewSupply.com and use the promo code “HHH” to receive 5% off your order.
Thank you to our show’s sponsor, Imperial Yeast, for supporting us and the homebrewing community. Learn more about why we LOVE Imperial Yeast by checking out their entire line, available at HomebrewSupply.com: https://homebrewsupply.com/ingredients/yeast/imperial-yeast/
————————–
Become a Patron! Reminder that these episodes are ultimately made possible because of YOUR support. Consider becoming a member of our newly launched Patreon page and receive perks such as merch, exclusive group access and content, recipes, and some tiers even get monthly recipe kits mailed to you! https://www.patreon.com/HomebrewHappyHour
Outside fermentation, pressure fermenting, grain brands, & harvesting yeast from glass carboys – Ep 219

Hey friend!
Welcome to our Homebrew Happy Hour podcast… the podcast where we answer all of your home brewing questions and discuss anything related to craft beer!
A SUBTLE REMINDER:
If you appreciate the things we do here at Homebrew Happy Hour, consider joining our Patreon community! Not only will you be supporting our efforts, but you’ll also receive exclusive perks such as HUGE discounts on HomebrewSupply.com and Kegconnection.com, welcome packs with our merch, discounts to BrewersFriend.com, and lots more! Click the link and join today — https://www.patreon.com/bePatron?u=21132635
On Today’s Show:
First off — THANK YOU to everyone who reached out and checked in on us as we dealt with last week’s weird ice storm weather. You know we aren’t used to that here in Texas and things got real dicey when the power went out. Thankfully, you all have been incredible and we appreciate the well wishes!
This week, Todd and James are back and join me to tackle your questions. I had a blast with the guys and look forward to seeing them in person soon.
We want to hear from you!
If you have a question that you’d like us to discuss on a future episode, please click on the “Submit a Question” link at the top of our website or you can now call in your questions via our questions hotline @ 325-305-6107 and leave your message after the beep. This is a friendly reminder that, if we choose your question for a future episode, we give you a $25 gift card to that episode’s sponsor!
Let us know what you think and enjoy the show!
cheers,
joshua
————————–
![]()
Today’s show is brought to you by HomebrewSupply.com! HBS has all of your favorite recipe kits, fresh ingredients, and homebrew equipment in stock. Homebrew Happy Hour listeners can visit HomebrewSupply.com and use the promo code “HHH” to receive 5% off your order.
Sign up for Kölsch Cup 2021 and see if you can be crowned King of the Kölsch! Details available at KolschCup.com !

![]()
Thank you to our show’s sponsor, Imperial Yeast, for supporting us and the homebrewing community. Learn more about why we LOVE Imperial Yeast by checking out their entire line, available at HomebrewSupply.com: https://homebrewsupply.com/ingredients/yeast/imperial-yeast/
————————–
Become a Patron! Reminder that these episodes are ultimately made possible because of YOUR support. Consider becoming a member of our newly launched Patreon page and receive perks such as merch, exclusive group access and content, recipes, and some tiers even get monthly recipe kits mailed to you! https://www.patreon.com/HomebrewHappyHour
Recipe Recap & Review | Ep. 07: Sierra Nevada Celebration Clone


Welcome back to another episode of the Recipe Recap & Review show!
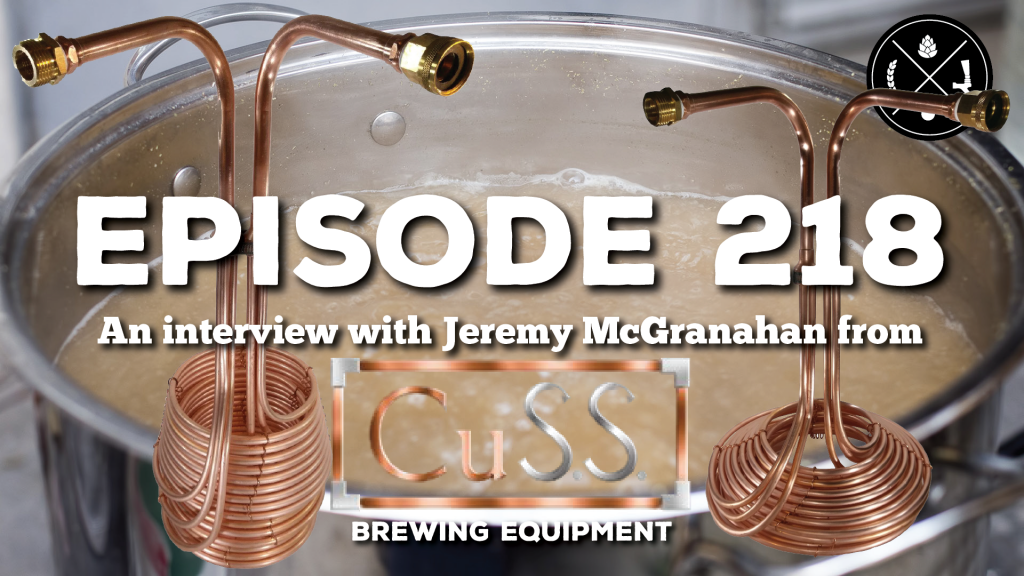
This show features discussions on the recipes that we’re brewing, how our brew day experiences went, and what we think about the finished beer after it’s done fermenting and is properly carbonated. On today’s show, we go over the delicious “Celebration Clone” that Todd brewed based on the Sierra Nevada commercial craft beer release, “Celebration. https://homebrewsupply.com/search.php?search_query=Celebration§ion=product Click on the link above to buy either kit for yourself or you can even download the recipe instructions (grain bill + ingredients included) at that same link for FREE. All of the recipes we feature on Recipe Recap & Review are provided by HomebrewSupply.com — Fresh ingredients, the best prices, and same-day flat rate shipping make Homebrew Supply your shop for brewing beer. HomebrewSupply.com – make your brew day better!An interview with Jeremy McGranahan from CuS.S. Brewing – Ep. 218

Happy to have you back, homebrewer!
Welcome to our Homebrew Happy Hour podcast… the podcast where we answer all of your home brewing questions and discuss anything related to craft beer!
A SUBTLE REMINDER:
If you appreciate the things we do here at Homebrew Happy Hour, consider joining our Patreon community! Not only will you be supporting our efforts, but you’ll also receive exclusive perks such as HUGE discounts on HomebrewSupply.com and Kegconnection.com, welcome packs with our merch, discounts to BrewersFriend.com, and lots more! Click the link and join today — https://www.patreon.com/bePatron?u=21132635
On Today’s Show:
I’m excited to welcome Jeremy McGranahan on the show today! Jeremy is the founder of CuS.S. Brewing Equipment and is the man behind the original multi-feed wort chiller. You can see the entire line of wort chillers and products at CussBrewing.com!
We want to hear from you!
If you have a question that you’d like us to discuss on a future episode, please click on the “Submit a Question” link at the top of our website or you can now call in your questions via our questions hotline @ 325-305-6107 and leave your message after the beep. This is a friendly reminder that, if we choose your question for a future episode, we give you a $25 gift card to that episode’s sponsor!
Let us know what you think and enjoy the show!
cheers,
joshua
————————–
![]()
Today’s show is brought to you by HomebrewSupply.com! HBS has all of your favorite recipe kits, fresh ingredients, and homebrew equipment in stock. Homebrew Happy Hour listeners can visit HomebrewSupply.com and use the promo code “HHH” to receive 5% off your order.
Thank you to our show’s sponsor, Imperial Yeast, for supporting us and the homebrewing community. Learn more about why we LOVE Imperial Yeast by checking out their entire line, available at HomebrewSupply.com: https://homebrewsupply.com/ingredients/yeast/imperial-yeast/
————————–
Become a Patron! Reminder that these episodes are ultimately made possible because of YOUR support. Consider becoming a member of our newly launched Patreon page and receive perks such as merch, exclusive group access and content, recipes, and some tiers even get monthly recipe kits mailed to you! https://www.patreon.com/HomebrewHappyHour
Recipe Recap & Review | Ep. 06: Dunkel

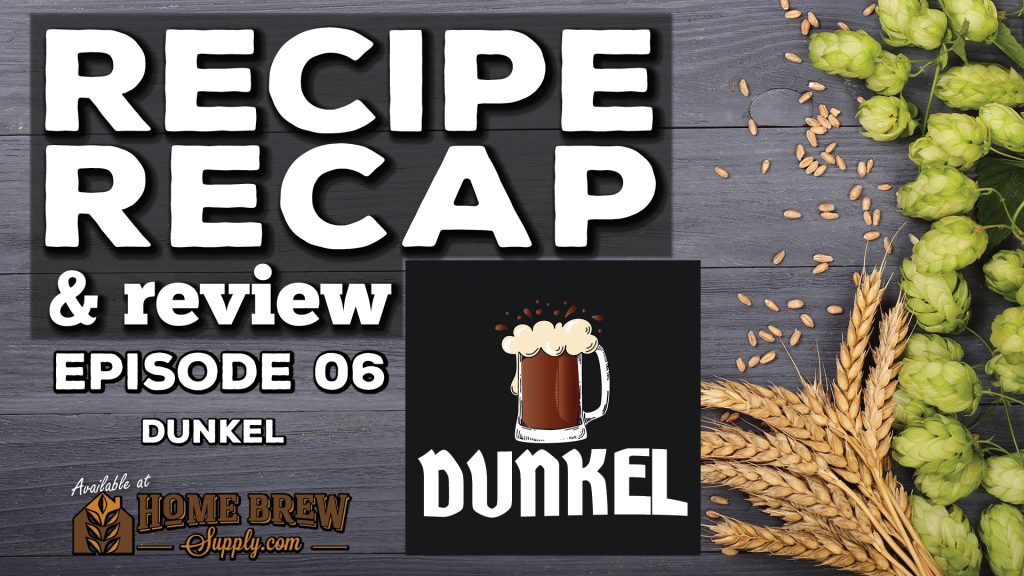
Welcome back to another episode of the Recipe Recap & Review show!
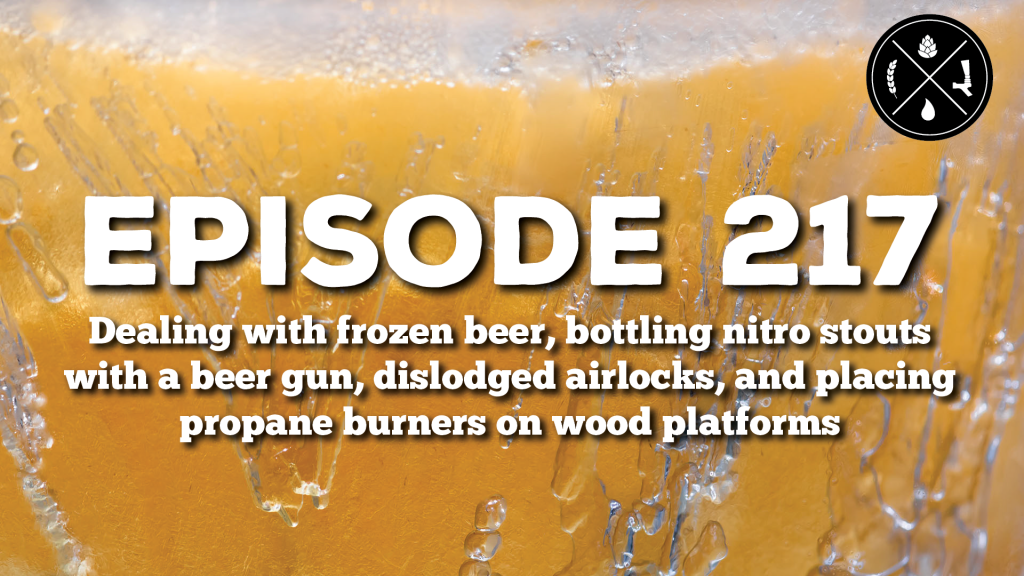
This show features discussions on the recipes that we’re brewing, how our brew day experiences went, and what we think about the finished beer after it’s done fermenting and is properly carbonated. On today’s show, we go over a new Munich Dunkel that James is developing for HomebrewSupply.com ! Click on the link above to buy either kit for yourself or you can even download the recipe instructions (grain bill + ingredients included) at that same link for FREE. All of the recipes we feature on Recipe Recap & Review are provided by HomebrewSupply.com — Fresh ingredients, the best prices, and same-day flat rate shipping make Homebrew Supply your shop for brewing beer. HomebrewSupply.com – make your brew day better! *Ignore me calling this a “Dunkelweizen” on the show and ignore James and Todd never correcting me! I had some miscommunication but this is a recipe kit coming VERY SOON to HomebrewSupply.com and not the Dunkelweizen kit already on HBS.Dealing with frozen beer, bottling nitro stouts with a beer gun, dislodged airlocks, and placing propane burners on wood platforms – Ep 217

Thanks for coming back, friend!
Welcome to our Homebrew Happy Hour podcast… the podcast where we answer all of your home brewing questions and discuss anything related to craft beer!
A SUBTLE REMINDER:
If you appreciate the things we do here at Homebrew Happy Hour, consider joining our Patreon community! Not only will you be supporting our efforts, but you’ll also receive exclusive perks such as HUGE discounts on HomebrewSupply.com and Kegconnection.com, welcome packs with our merch, discounts to BrewersFriend.com, and lots more! Click the link and join today — https://www.patreon.com/bePatron?u=21132635
On Today’s Show:
January FLEW by, didn’t it?! It’s crazy to me how quick time seems to pass these days. As you may have heard me mention on previous episodes, I’m in the middle of moving a town over so all of my free time has been packing up our house, purging things I don’t want to take with us, and getting ready to move. It’s been crazy!
Thankfully, my favorite part of the week is producing new episodes of this show and I’m also especially thankful for Todd and James because, without them, I couldn’t possibly begin to answer all of the questions in our HHH inbox. To be fair, even when my brain isn’t fried and overloaded with house selling and house buying and moving stuff, I probably couldn’t answer most of your questions then either.
This week was fun as we discuss a question from a listener who discovered that they had accidentally frozen their keg of beer. We also got a question from a new Blichmann Beer Gun owner about the possibilities of using the device to bottle from a keg of nitrogenated beer. Then, we discussed a question about what might happen if your airlock becomes dislodged during fermentation. Finally, we wrap up the show with a question about the potential safety hazards of using a propane burner on top of a wood pallet base.
We want to hear from you!
If you have a question that you’d like us to discuss on a future episode, please click on the “Submit a Question” link at the top of our website or you can now call in your questions via our questions hotline @ 325-305-6107 and leave your message after the beep. This is a friendly reminder that, if we choose your question for a future episode, we give you a $25 gift card to that episode’s sponsor!
Let us know what you think and enjoy the show!
cheers,
joshua
PS – here’s a link to the shelving unit James mentioned: https://www.homedepot.com/p/HDX-Chrome-3-Tier-Steel-Wire-Shelving-Unit-24-in-W-x-30-in-H-x-14-in-D-E356075OAH3RTH/313360978
Here’s a pic of Todd’s sweeeeeet set up: 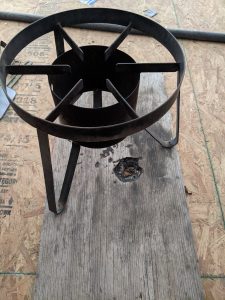
————————–
![]()
Today’s show is brought to you by HomebrewSupply.com! HBS has all of your favorite recipe kits, fresh ingredients, and homebrew equipment in stock. Homebrew Happy Hour listeners can visit HomebrewSupply.com and use the promo code “HHH” to receive 5% off your order.
Sign up for Kölsch Cup 2021 and see if you can be crowned King of the Kölsch! Details available at KolschCup.com !
![]()
Thank you to our show’s sponsor, Imperial Yeast, for supporting us and the homebrewing community. Learn more about why we LOVE Imperial Yeast by checking out their entire line, available at HomebrewSupply.com: https://homebrewsupply.com/ingredients/yeast/imperial-yeast/
————————–
Become a Patron! Reminder that these episodes are ultimately made possible because of YOUR support. Consider becoming a member of our newly launched Patreon page and receive perks such as merch, exclusive group access and content, recipes, and some tiers even get monthly recipe kits mailed to you! https://www.patreon.com/HomebrewHappyHour