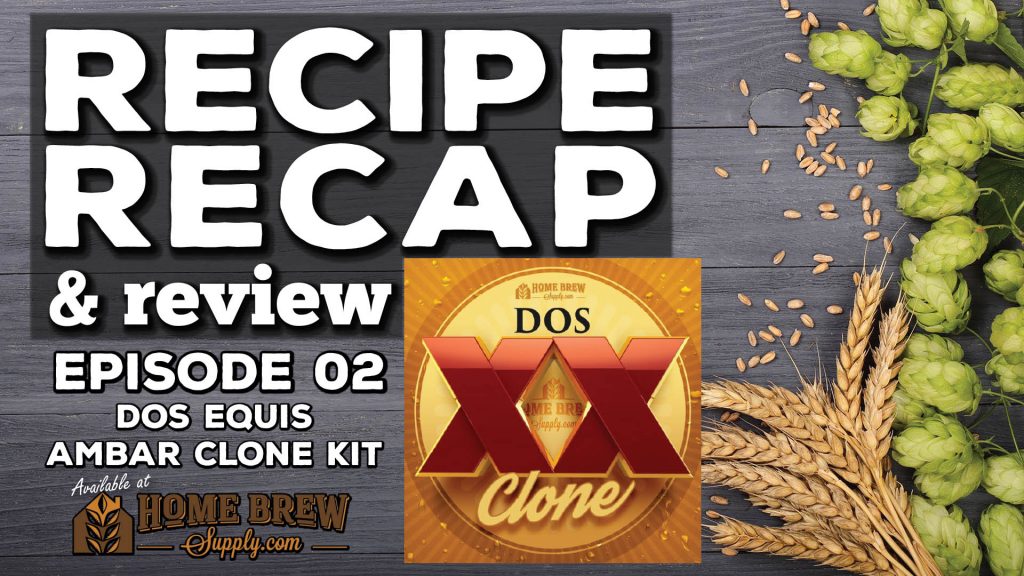
We’re back with another episode of Recipe Recap & Review!
This show features discussions on the recipes that we’re brewing, how our brew day experiences went, and what we think about the finished beer after it’s done fermenting and is properly carbonated.
All of the recipes we feature on Recipe Recap & Review are provided by HomebrewSupply.com — Fresh ingredients, the best prices, and same-day flat rate shipping make Homebrew Supply your shop for brewing beer. HomebrewSupply.com – make your brew day better!
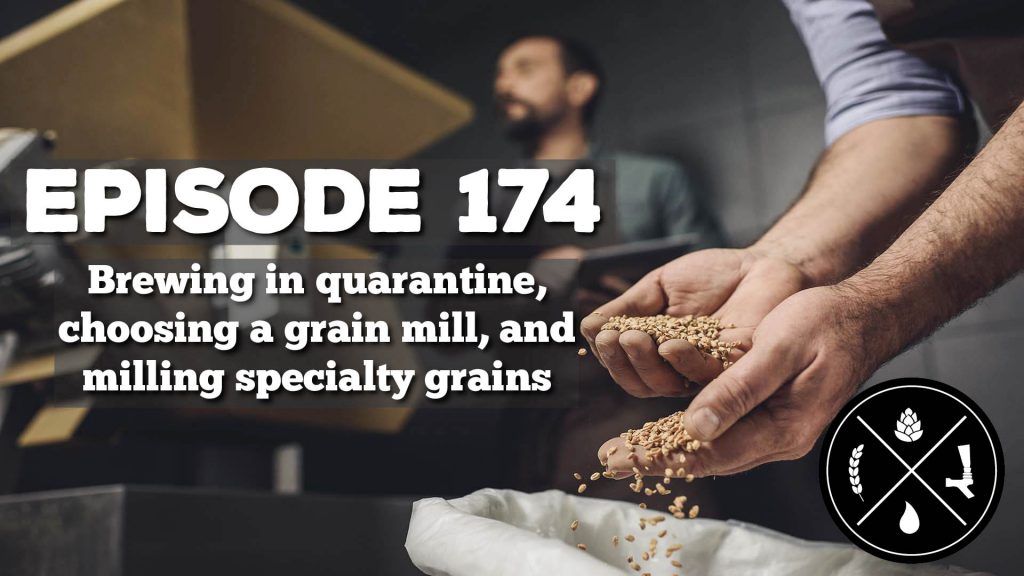
Welcome back to our Homebrew Happy Hour podcast… the podcast where we answer all of your home brewing questions and discuss anything related to craft beer!
If you appreciate the things we’re doing as Homebrew Happy Hour, consider joining our Patreon community! Not only will you be supporting our efforts, you’ll also receive exclusive perks such as HUGE discounts on HomebrewSupply.com and Kegconnection.com, welcome packs with our merch, discounts to BrewersFriend.com, and lots more! Click the link and join today — https://www.patreon.com/bePatron?u=21132635
On Today’s Show:
First and foremost – we hope you are hanging in there and keeping healthy during these weird times. “Weird” is about as appropriate word as we can think of. I said this in a newsletter and I’ll say it again — if you need anything, ANYTHING, that we can provide or help you with then please don’t hesitate to ask. We love you guys and will get through all of this together.
On the show — James and Todd join me, remotely, to take your questions on adjusting your brew days when life throws you lemons (i.e – when you’re in quarantine at home!), choosing a grain mill to buy, and mill settings when crushing grains for partial mash brewing.
We want to hear from you!
If you have a question that you’d like us to discuss on a future episode, please click on the “Submit a Question” link at the top of our website or you can now call in your questions via our questions hotline @ 325-305-6107 and leave your message after the beep. This is a friendly reminder that, if we choose your question for a future episode, we give you a $25 gift card to that episode’s sponsor!
Become a Patron! Reminder that these episodes are ultimately made possible because of YOUR support. Consider becoming a member of our newly launched Patreon page and receive perks such as merch, exclusive group access and content, recipes, and some tiers even get monthly recipe kits mailed to you! https://www.patreon.com/HomebrewHappyHour
————————–
Are you a member of the American Homebrewers Association yet? Join today and receive a FREE copy of “Session Beers” by Jennifer Talley on top of all the other cool perks that an AHA membership offers — CLICK HERE FOR MORE INFO
We’re back with another episode of Recipe Recap & Review!
This show features discussions on the recipes that we’re brewing, how our brew day experiences went, and what we think about the finished beer after it’s done fermenting and is properly carbonated.
All of the recipes we feature on Recipe Recap & Review are provided by HomebrewSupply.com — Fresh ingredients, the best prices, and same-day flat rate shipping make Homebrew Supply your shop for brewing beer. HomebrewSupply.com – make your brew day better!
Thanks for tuning in to another fun-filled epiosde of the Homebrew Happy Hour podcast… a podcast where we answer all of your home brewing questions and discuss anything related to craft beer!
If you appreciate the things we’re doing as Homebrew Happy Hour, consider joining our Patreon community! Not only will you be supporting our efforts, you’ll also receive exclusive perks such as HUGE discounts on HomebrewSupply.com and Kegconnection.com, welcome packs with our merch, discounts to BrewersFriend.com, and lots more! Click the link and join today — https://www.patreon.com/bePatron?u=21132635
On Today’s Show:
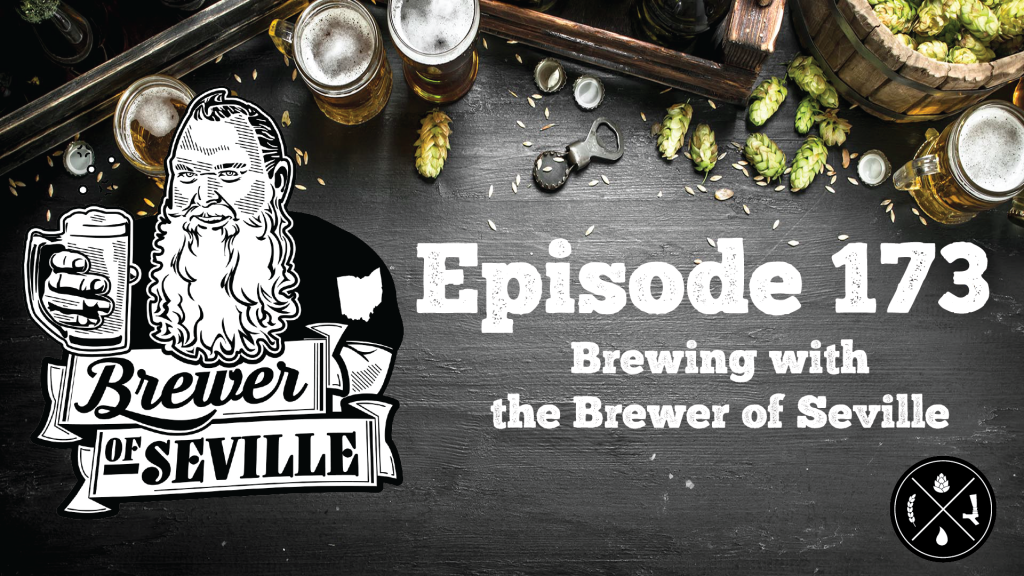
We always love it when visitors come to town and we were especially excited to welcome Kenny Highman, aka The Brewer of Seville, back on the show AND live in studio. Well, not “in studio”, more like “in the barn” but you get what I’m saying.
Kenny made the trek from Ohio all the way down to the heart of Texas to hang with us. We brewed some beer, drank LOTS of beer, and caught up with him and what he’s up to these days.
We want to hear from you!
If you have a question that you’d like us to discuss on a future episode, please click on the “Submit a Question” link at the top of our website or you can now call in your questions via our questions hotline @ 325-305-6107 and leave your message after the beep. This is a friendly reminder that, if we choose your question for a future episode, we give you a $25 gift card to that episode’s sponsor!
Become a Patron! Reminder that these episodes are ultimately made possible because of YOUR support. Consider becoming a member of our newly launched Patreon page and receive perks such as merch, exclusive group access and content, recipes, and some tiers even get monthly recipe kits mailed to you! https://www.patreon.com/HomebrewHappyHour
————————–
Are you a member of the American Homebrewers Association yet? Join today and receive a FREE copy of “Session Beers” by Jennifer Talley on top of all the other cool perks that an AHA membership offers — CLICK HERE FOR MORE INFO
We’re back with another episode of Recipe Recap & Review!
This show features discussions on the recipes that we’re brewing, how our brew day experiences went, and what we think about the finished beer after it’s done fermenting and is properly carbonated.
All of the recipes we feature on Recipe Recap & Review are provided by HomebrewSupply.com — Fresh ingredients, the best prices, and same-day flat rate shipping make Homebrew Supply your shop for brewing beer. HomebrewSupply.com – make your brew day better!
Welcome back to our Homebrew Happy Hour podcast… the podcast where we answer all of your home brewing questions and discuss anything related to craft beer!
If you appreciate the things we’re doing as Homebrew Happy Hour, consider joining our Patreon community! Not only will you be supporting our efforts, you’ll also receive exclusive perks such as HUGE discounts on HomebrewSupply.com and Kegconnection.com, welcome packs with our merch, discounts to BrewersFriend.com, and lots more! Click the link and join today — https://www.patreon.com/bePatron?u=21132635
On Today’s Show:
You might not believe this but Todd couldn’t join us today because… get this… he’s on a freakin’ helicopter RIGHT NOW shooting hogs from it. Yes, you read that correctly. James and I are both incredibly jealous of the amazing time that Todd is, undoubtedly, having. In case you’re wondering – hogs are a TERROR here in Texas and are vastly overpopulated on Todd’s ranch where they’ve been literally destroying the land which is affecting all the other wildlife that rely on Todd’s property. So… don’t feel bad for the little piggies 😉 !
ANYWAY – that means it’s just James and I today but thank God he joined me because I could not have done today’s show without him. We discuss whether you should follow the temperature ranges listed in your recipe kit versus what’s on your yeast pack (ideally — they’d both be the same ranges), we talk about how important pH levels are in regards to the mashing process, and a listener writes in with a question on best practices for cleaning his Grainfather unit.
We want to hear from you!
If you have a question that you’d like us to discuss on a future episode, please click on the “Submit a Question” link at the top of our website or you can now call in your questions via our questions hotline @ 325-305-6107 and leave your message after the beep. This is a friendly reminder that, if we choose your question for a future episode, we give you a $25 gift card to that episode’s sponsor!
Become a Patron! Reminder that these episodes are ultimately made possible because of YOUR support. Consider becoming a member of our newly launched Patreon page and receive perks such as merch, exclusive group access and content, recipes, and some tiers even get monthly recipe kits mailed to you! https://www.patreon.com/HomebrewHappyHour
————————–
Are you a member of the American Homebrewers Association yet? Join today and receive a FREE copy of “Session Beers” by Jennifer Talley on top of all the other cool perks that an AHA membership offers — CLICK HERE FOR MORE INFO
Welcome to the first episode of our new weekly show, Recipe Recap & Review!
This show will feature discussions on the recipes we’re brewing, how our brew day experiences went, and what we think about the finished beer after it’s done fermenting and is properly carbonated.
The recipes featured on Recipe Recap & Review are provided by HomebrewSupply.com — Fresh ingredients, the best prices, and same-day flat rate shipping make Homebrew Supply your shop for brewing beer. HomebrewSupply.com – make your brew day better!
If a beer is well made, it is well made. I don’t care if it is a homebrew, a local nano-brewery brewing out of a garage, a “too big to be cool craft” brewer, or even a macro from AB InBev. People who won’t drink or say a Boston Lager or Guinness Draught suck because of their own preconceptions just shouldn’t be taken seriously. If you have valid and informed reasons why you don’t like a beer I have no issue with it. There is a reason why stores, bars, and restaurants have more than one beer in stock. Too many beer drinkers can’t or won’t; sadly asking people to be honest and open-minded is often too much to ask for.
Many beer drinkers, especially self-identified connoisseurs don’t understand is how beer is supposed to taste. If you think Boston Lager sucks because it isn’t hoppy enough, then you clearly do not understand that a Vienna Lager isn’t supposed to be hoppy. The issue really isn’t the beer, the issue is that you just don’t like the style. It’s not the beer, it’s you!
On Christmas Eve I went to my uncle’s house. I brought a six-pack of Narragansett Autocrat Coffee Milk Stout. After gorging on food, a full-bodied stout was not all that appealing. To the shock of everyone, I went for an Amstel Light. I hadn’t had one in years, and it was actually better than I remembered. I don’t usually drink light lagers, but at that moment I enjoyed it. It was light, refreshing, and tasted exactly how it was supposed to taste.
All of these beers are fine examples of their particular style. If you say any of these beers suck, you’re wrong. If you don’t like them, see the distinction, then have a reason why other than the name on the label.
Two years ago when asked about “guilty pleasures” in music Dave Grohl said, “I don’t believe in guilty pleasures, I believe you should be able to like what you like. If you like a f***** Ke$ha song, listen to f****** Ke$ha.”
I was out with a group of people at The Yard House last fall. Being at a beer bar the topic of beer came up. My friend Kate sheepishly mentioned that she really enjoyed Shipyard Pumpkinhead. As Shipyard has grown it has fallen into a similar trap as Samuel Adams, Widmer, and Deschutes. Their English and English influenced ales are certainly out of place in a world where if a beer isn’t a hop-bomb, it’s crap! Just because there may be other pumpkin beers I think are superior, or a beer snob who measures the quality of a beer only in IBUs might look down on the Shipyard line, doesn’t mean a beer drinker should feel the need to justify anything to anyone.
I am also starting to question the chase for the latest and greatest beers which has some drinkers leaving brands like Sam Adams. I love trying new things. I love being inspired to brew new things. Now it is to the point where I can’t remember most of the beers that I have tried. To what end am I chasing new beers if most of them aren’t memorable?
Before I started brewing I thought I was an educated beer drinker. I didn’t know what I didn’t know. That was when I truly learned how beer was supposed to taste. That doesn’t mean you have to brew to appreciate beer. What it does mean is to be open to what you don’t know. Too many beer snobs aren’t.
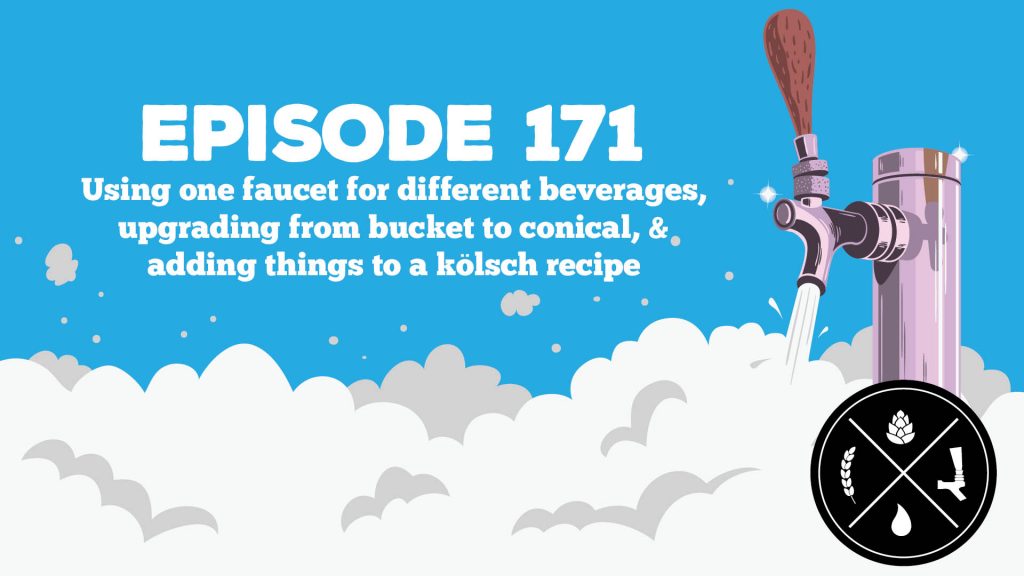
Welcome back to our Homebrew Happy Hour podcast… the podcast where we answer all of your home brewing questions and discuss anything related to craft beer!
On Today’s Show:
We’ve got a fun show for you today! Todd and James were both able to join me and we discussed listener-submitted questions about using the same faucet and beer line to dispense different types of beverages, a listener who is upgrading from his trusty ol’ brew bucket to a shiny new stainless steel conical fermenter, and a question about… you’re not going to believe this… KOLSCH!
If you have a question that you’d like us to discuss on a future episode, please click on the “Submit a Question” link at the top of our website or you can now call in your questions via our questions hotline @ 325-305-6107 and leave your message after the beep. This is a friendly reminder that, if we choose your question for a future episode, we give you a $25 gift card to that episode’s sponsor!
Become a Patron! Reminder that these episodes are ultimately made possible because of YOUR support. Consider becoming a member of our newly launched Patreon page and receive perks such as merch, exclusive group access and content, recipes, and some tiers even get monthly recipe kits mailed to you! https://www.patreon.com/HomebrewHappyHour
————————–
Are you a member of the American Homebrewers Association yet? Join today and receive a FREE copy of “Session Beers” by Jennifer Talley on top of all the other cool perks that an AHA membership offers — CLICK HERE FOR MORE INFO
We welcome you to another fun-filled episode of our Homebrew Happy Hour podcast… the podcast where we answer all of your home brewing questions and discuss anything related to craft beer!
On Today’s Show:
If you’re one of the few who regularly read our shownotes, then I apologize for the repetition but IMPERIAL YEAST IS NOW SPONSORING OUR MONTHLY RECIPE KITS! Members of our $35 and $50 monthly tiers will now receive premium Imperial liquid yeast with their recipe kits. We’re still just as excited about this as we were when we first announced it!!!
Todd and James were both able to join me for this week’s episode and we had a blast discussing your questions but also, more importantly, getting to the bottom of why Todd continuously breaks so many hydrometers. I mean… really, dude? I’ve been using the same hydrometer for 3+ years but Todd is on his 300th hydrometer it seems like.
The questions on today’s show cover a wide variety of topics so I’m confident that you’re going to learn something this week.
Don’t forget about our LIVE Q&A with Michael Ferguson on February 26th @ 10am central! Below is a blurb about our good friend Michael and a promo banner for the Q&A event —
Emmy-nominated Beer Geeks host master brewer Michael Ferguson has been called a pioneer in the craft beer world and is now in his 30th year as an industry professional. As director of brewery operations for BJ’s Restaurants, Inc., he opened more than 120 BJ’s Restaurant and Brewhouse locations. Michael previously brewed for Station Casinos, Inc., and was responsible for multiple breweries including Barley’s Casino & Brewing Company, as director of brewery operations. He owns BrewerFX LLC, a company that provides brewery consulting and production and voiceover services, and currently manages Farmboy Brew Shop in Katy, Texas
We want to hear from you!
If you have a question that you’d like us to discuss on a future episode, please click on the “Submit a Question” link at the top of our website or you can now call in your questions via our questions hotline @ 325-305-6107 and leave your message after the beep. This is a friendly reminder that, if we choose your question for a future episode, we give you a $25 gift card to that episode’s sponsor!
Become a Patron! Reminder that these episodes are ultimately made possible because of YOUR support. Consider becoming a member of our newly launched Patreon page and receive perks such as merch, exclusive group access and content, recipes, and some tiers even get monthly recipe kits mailed to you! https://www.patreon.com/HomebrewHappyHour
————————–
Are you a member of the American Homebrewers Association yet? Join today and receive a FREE copy of “Session Beers” by Jennifer Talley on top of all the other cool perks that an AHA membership offers — CLICK HERE FOR MORE INFO